Workspace Management
Once your workspace is created, you can manage various aspects of your workspace including viewing details, managing members, and workspace settings.
Access your workspace management through the sidebar by clicking the settings (gear) icon or navigating to the "Members" section.
Overview
The workspace management interface provides you with comprehensive control over your workspace, including:
- Workspace Details - View and manage basic workspace information
- Members Management - Invite, manage, and organize team members
- Role Assignment - Assign appropriate roles to team members
- Workspace Settings - Configure workspace preferences and options
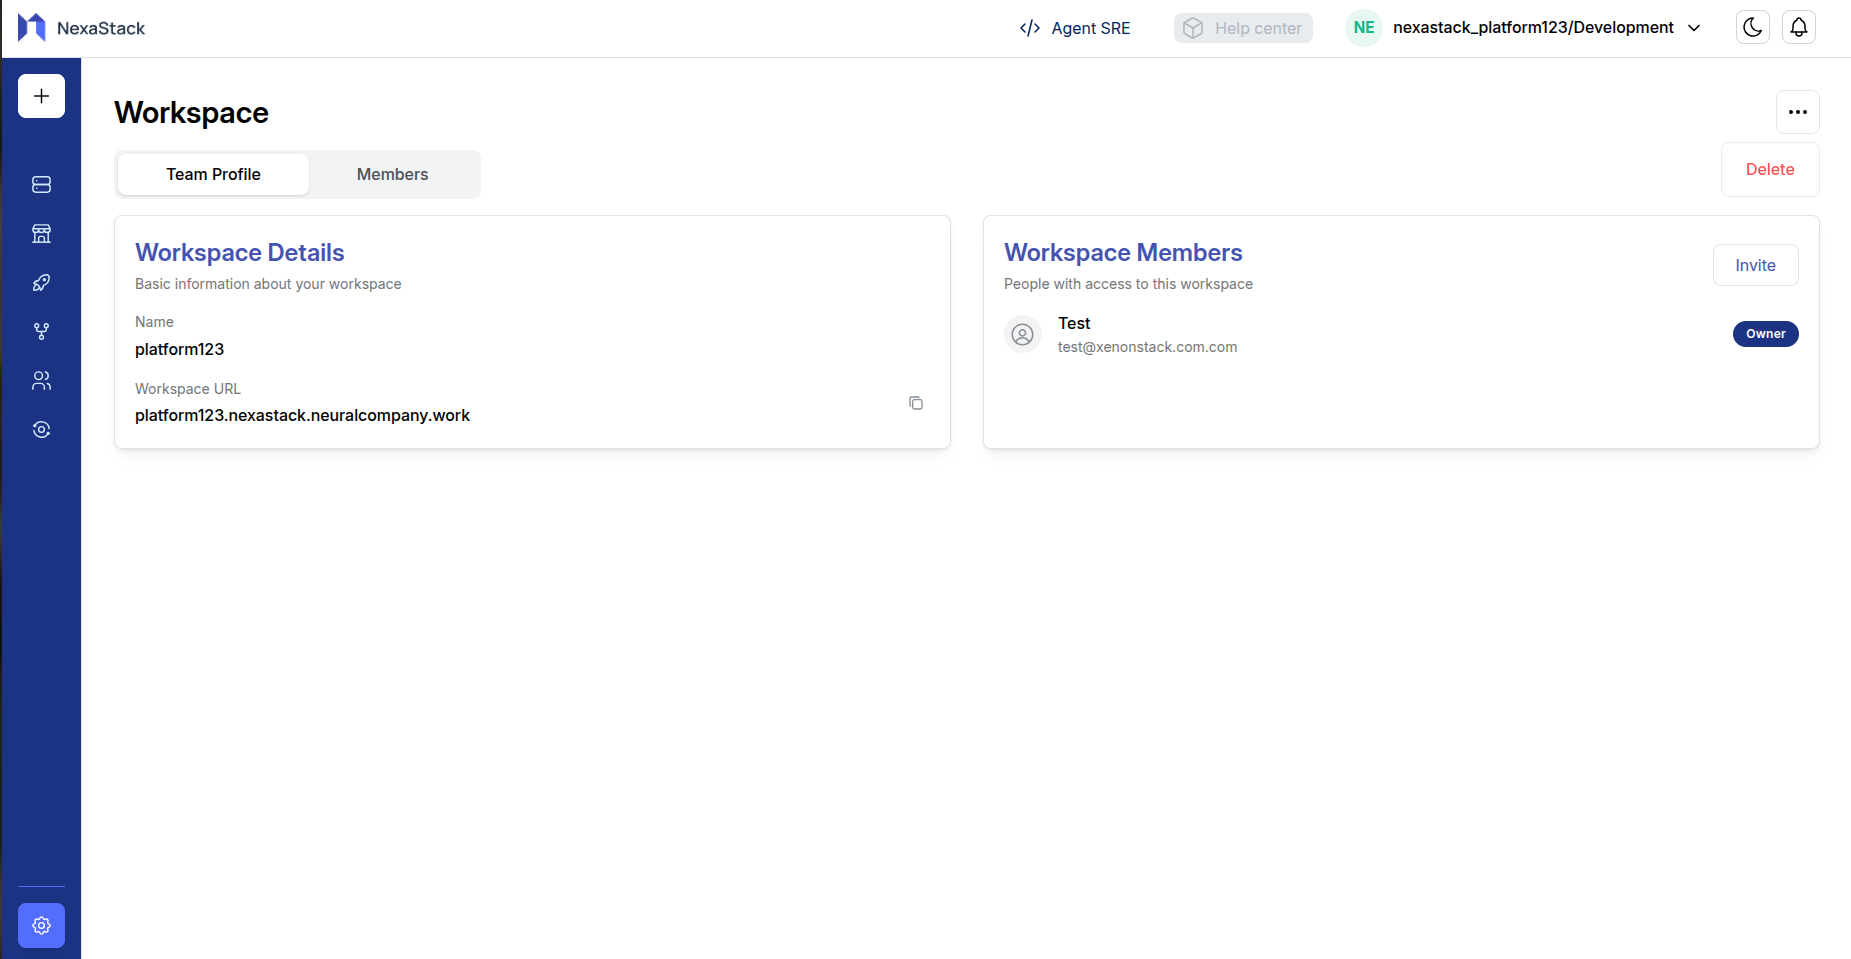
Viewing Workspace Details
Accessing Workspace Information
To view your workspace details:
-
Navigate to Workspace
- Click on the settings (gear) icon in the sidebar
- Or go to workspace dropdown in navbar then clisk on workspace
-
Workspace Details Card

- Name: Your workspace name (e.g., "platform123")
- Workspace URL: Your unique workspace URL (e.g., "platform123.nexastack.neuralcompany.work")
- Copy URL: Click the copy icon to share your workspace URL
Your workspace URL is unique and cannot be changed once created. Use this URL to access your workspace directly.
Managing Workspace Members
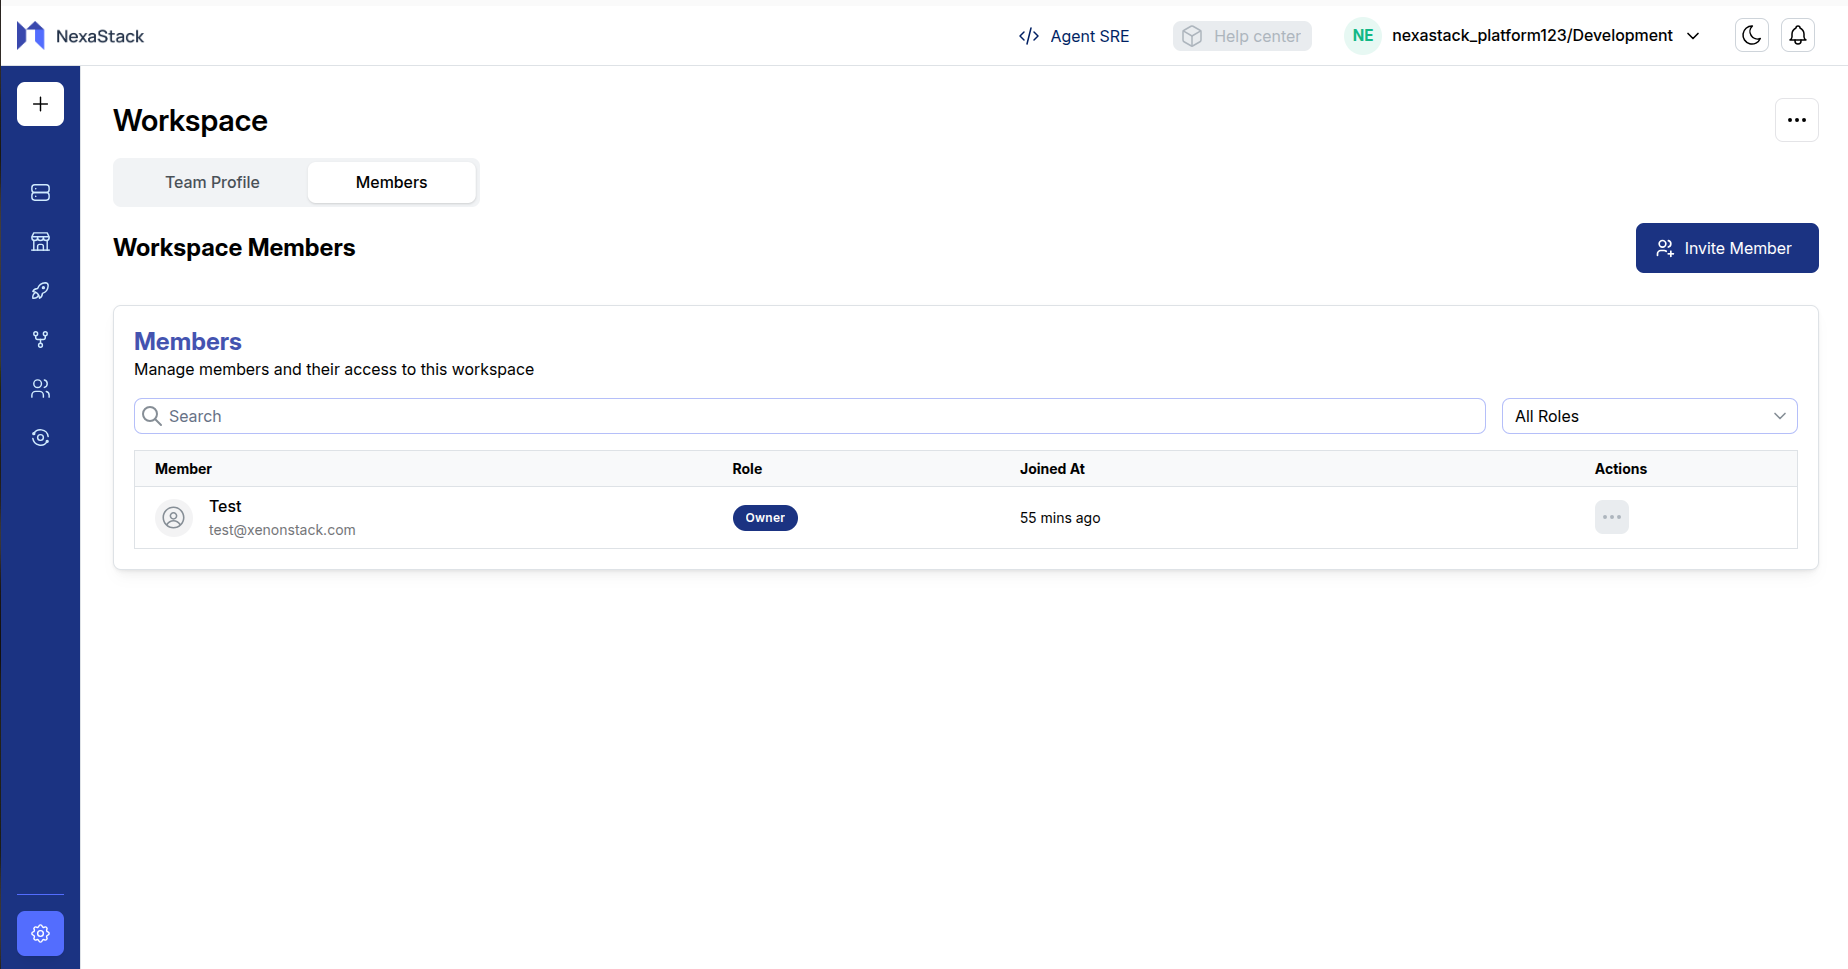
Viewing Members List
The Members section provides a comprehensive view of all workspace members:
-
Access Members Tab
- Navigate to the "Members" tab in your workspace
- View the complete list of current members
-
Member Information Displayed
- Member Name: Full name of the team member
- Email Address: Contact email for the member
- Role: Current role assigned (Owner, Admin, or User)
- Joined Date: When the member joined the workspace
- Actions: Options to manage individual members
-
Search and Filter Options
- Search Bar: Find specific members by name or email
- Role Filter: Filter members by their assigned roles
- Sort Options: Organize members by different criteria
Member Roles
Workspace members can be assigned different roles with varying levels of access:
Owner
- Full administrative control over the workspace
- Can manage all settings and members
- Cannot be removed by other members
- Can invite and manage other members
- Typically the workspace creator
Admin
- Administrative privileges for workspace management
- Can modify workspace settings
- Cannot delete the workspace
User
- Standard workspace access
- Can participate in projects and collaborations
- Limited administrative capabilities
- Can be managed by Admins and Owners
Inviting New Members
Invitation Process
To invite new members to your workspace:
-
Access Invitation
- Click the "Invite Member" button in the Members section
- Or use the "Invite" button in the Workspace Members card
-
Invite Members Modal
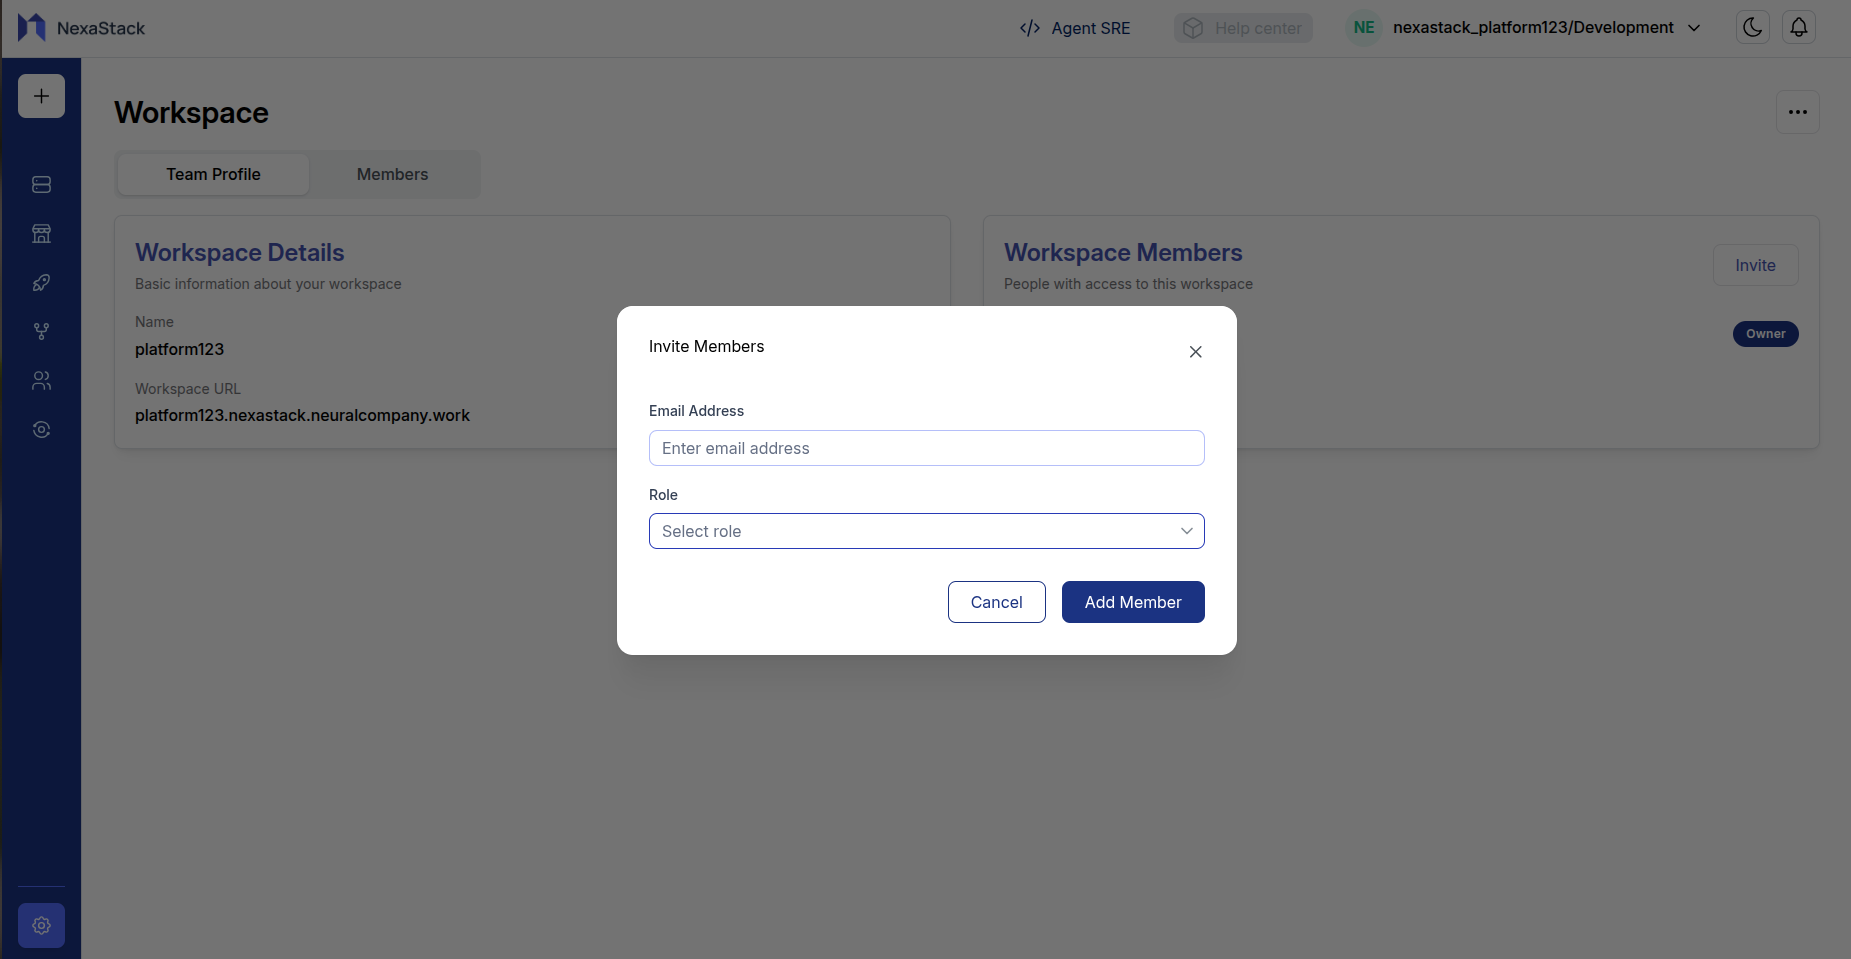
- Email Address: Enter the email address of the person you want to invite
- Role Selection: Choose the appropriate role from the dropdown:
- Admin: Administrative access with member management capabilities
- User: Standard workspace access for collaboration
- Add Member: Click to send the invitation
- Invitation Delivery
- Invitation email is automatically sent to the provided email address
- The email contains a secure link to accept the invitation
- Members can join using the invitation link
Choose roles carefully as they determine the level of access and permissions within the workspace. Admins have significant control over workspace settings and member management.
Accepting Invitations
When someone receives an invitation:
-
Email Notification
- Recipient receives an email with invitation details
- Email includes workspace name and role assignment
-
Acceptance Process
- Click the invitation link in the email
- Follow the acceptance flow
- Member is automatically added to the workspace
-
Workspace Access
- New member gains immediate access based on assigned role
- Can start collaborating and participating in projects
Workspace Deletion
Deleting Your Workspace
Workspace deletion is permanent and cannot be undone. All data, projects, and member access will be lost.
To delete your workspace:
-
Access Delete Option
- Navigate to action items on top right corner
- Look for the "Delete" button in the top-right area
- This option is typically only available to workspace owners
-
Confirmation Process
- Click the "Delete" button
- Confirm the deletion in the confirmation dialog
- Enter workspace name to confirm deletion
-
Post-Deletion
- All workspace data is permanently removed
- All members lose access immediately
- Workspace URL becomes unavailable
Before deleting, consider:
- Transferring ownership to another member
Best Practices
Member Management
- Regular Reviews: Periodically review member access and roles
- Principle of Least Privilege: Assign minimum necessary permissions
- Clear Communication: Inform members about role changes
Security Considerations
- Email Verification: Ensure all member emails are valid and secure
- Role Auditing: Regularly audit who has administrative access
- Access Monitoring: Monitor unusual activity or access patterns
Workspace Organization
- Clear Naming: Use descriptive names for workspace and members
- Documentation: Keep workspace settings and policies documented
- Regular Updates: Update member information and roles as needed
You now have comprehensive control over your workspace, including member management, role assignments, and workspace settings. Use these features to create a secure and organized collaborative environment for your team.