MCP Server Deployment Workflow
This guide provides a step-by-step walkthrough for adding and deploying a new MCP server in NexaStack. Following this workflow ensures proper configuration of resources, deployment type, and monitoring of the deployment pipeline.
Goal
Learn how to:
- Add a new MCP server to NexaStack.
- Configure deployment resources and parameters.
- Upload MCP packages or connect to a Git repository.
- Monitor the deployment pipeline and verify successful server onboarding.
Step 1: Login to the Platform
- Open the NexaStack login page.
- Login with correct credientials
Always log in via a secure HTTPS connection and never share your credentials publicly.
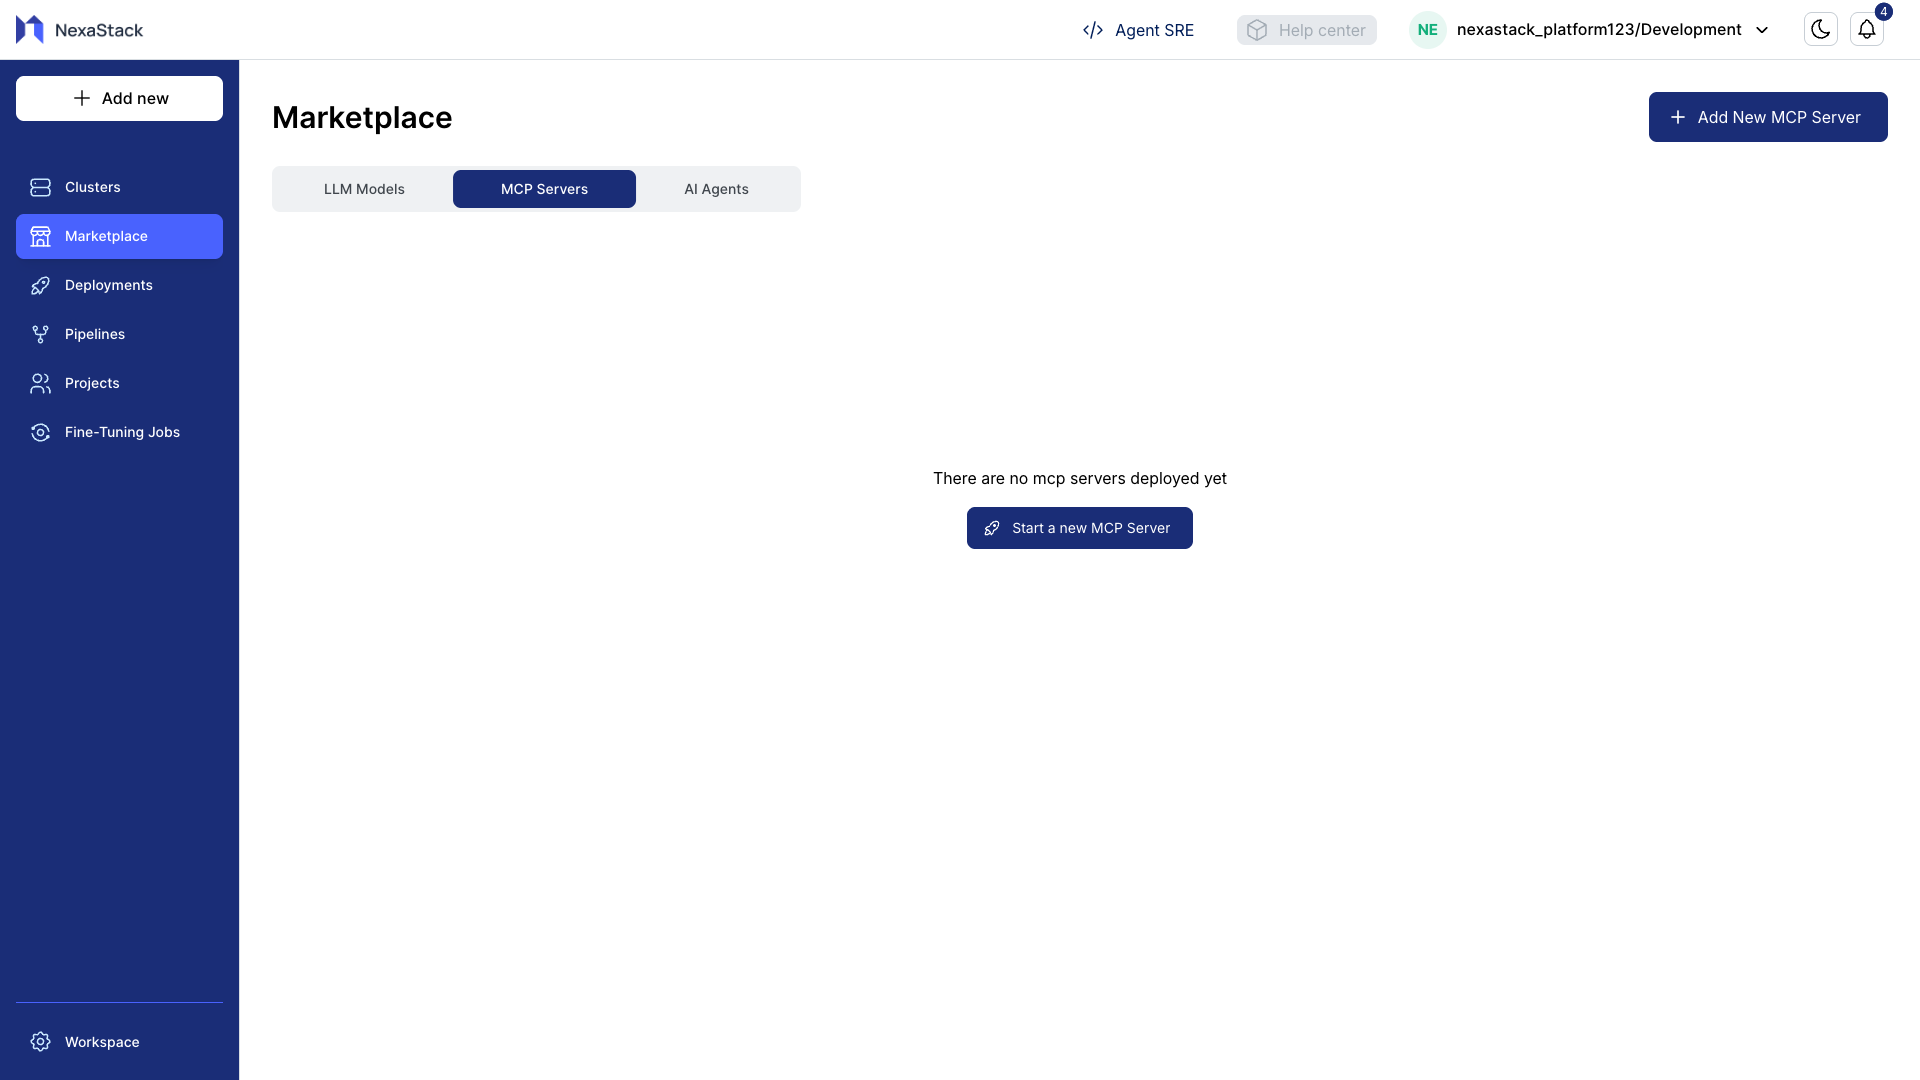
Step 2: Navigate to MCP Servers Section
- From the main sidebar, go to MarketPlace.
- Click on the MCP Servers tab to view all available MCP servers.
- Ensure the Add New MCP Server button is visible on the page.
Step 3: Start Adding a New MCP Server
- Click Add New MCP Server.
- The Deploy New MCP Server form will open. Verify that all sections are displayed correctly.
Step 4: Upload MCP Server
You can deploy the MCP server using either method: Upload Zip or Git Repository.
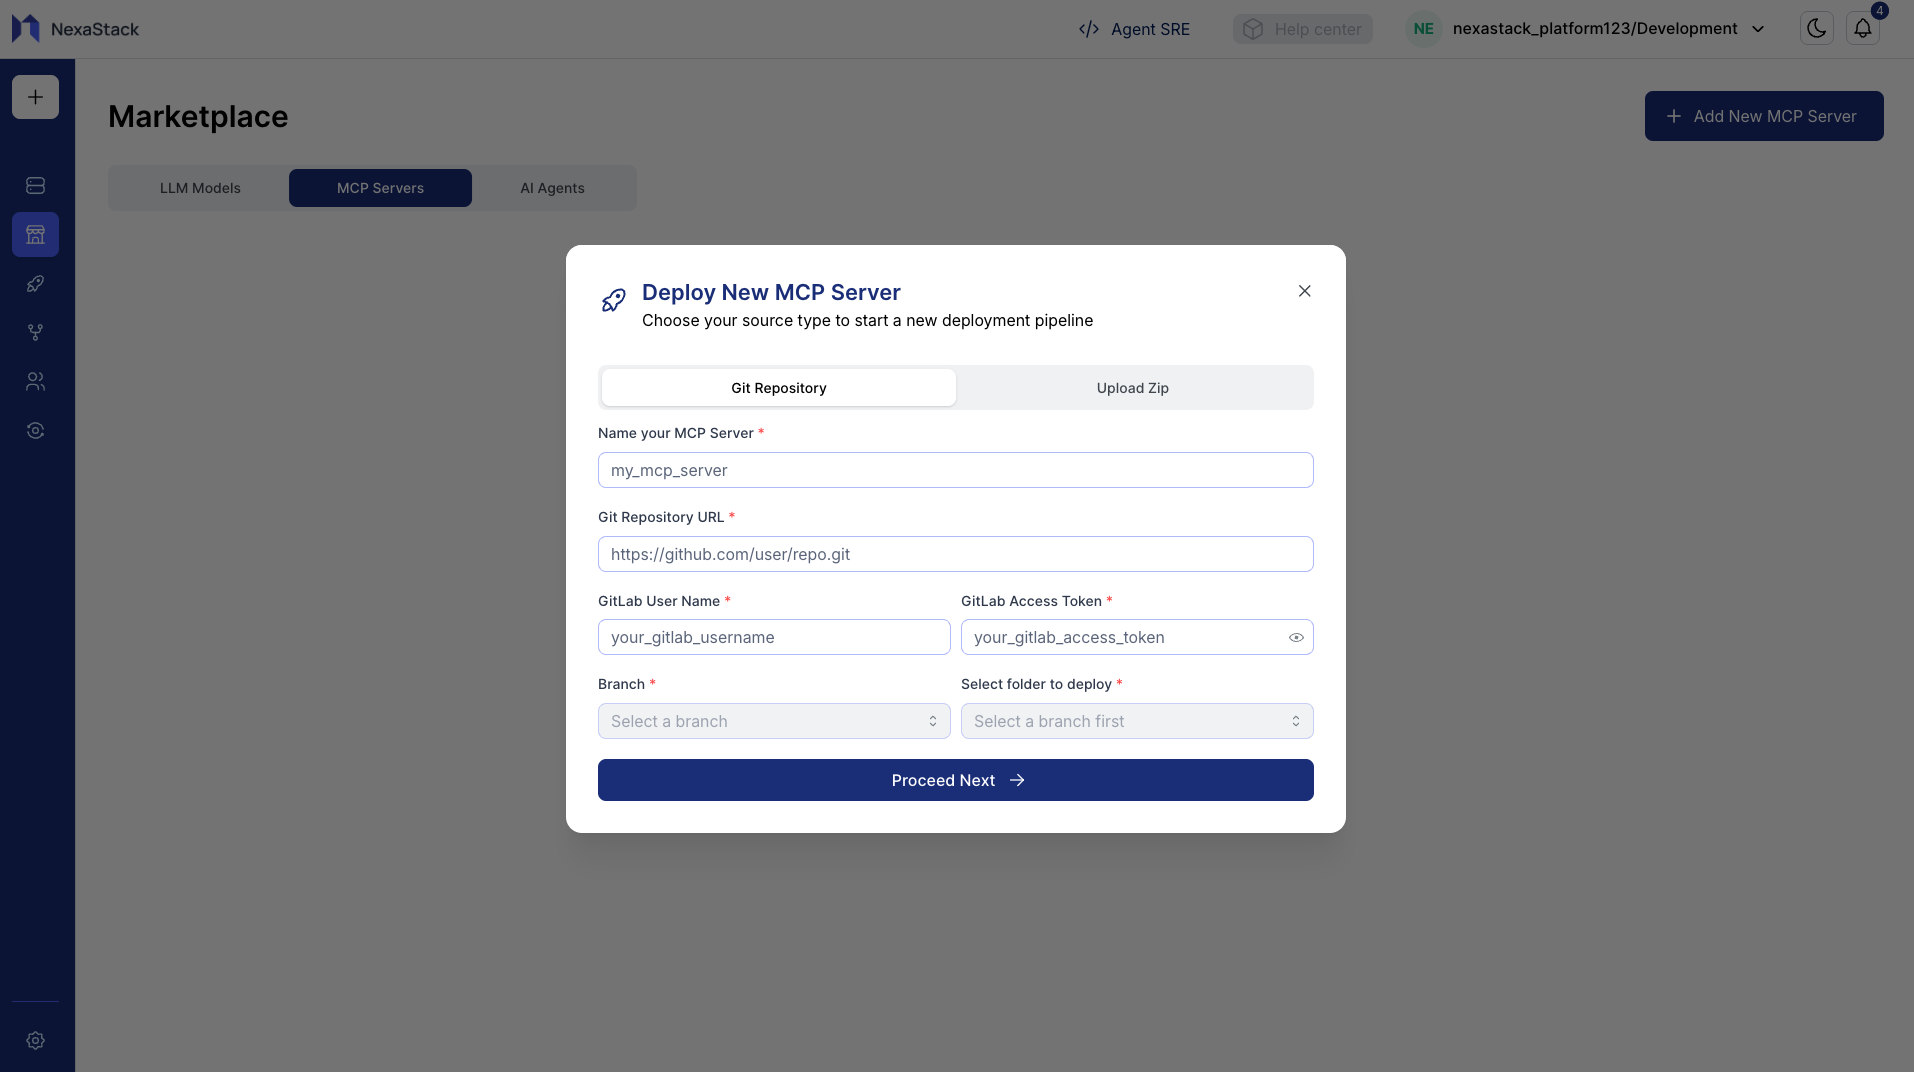
Git Repository Method
- Click Git Repository as the deployment method.
- Fill in the following details:
| Field | Description |
|---|---|
| MCP Server Name | Name of the MCP server to create |
| Repository URL | Git repository URL containing MCP server code |
| Username | Git account username (if private repo) |
| Token | Access token or password for repo authentication |
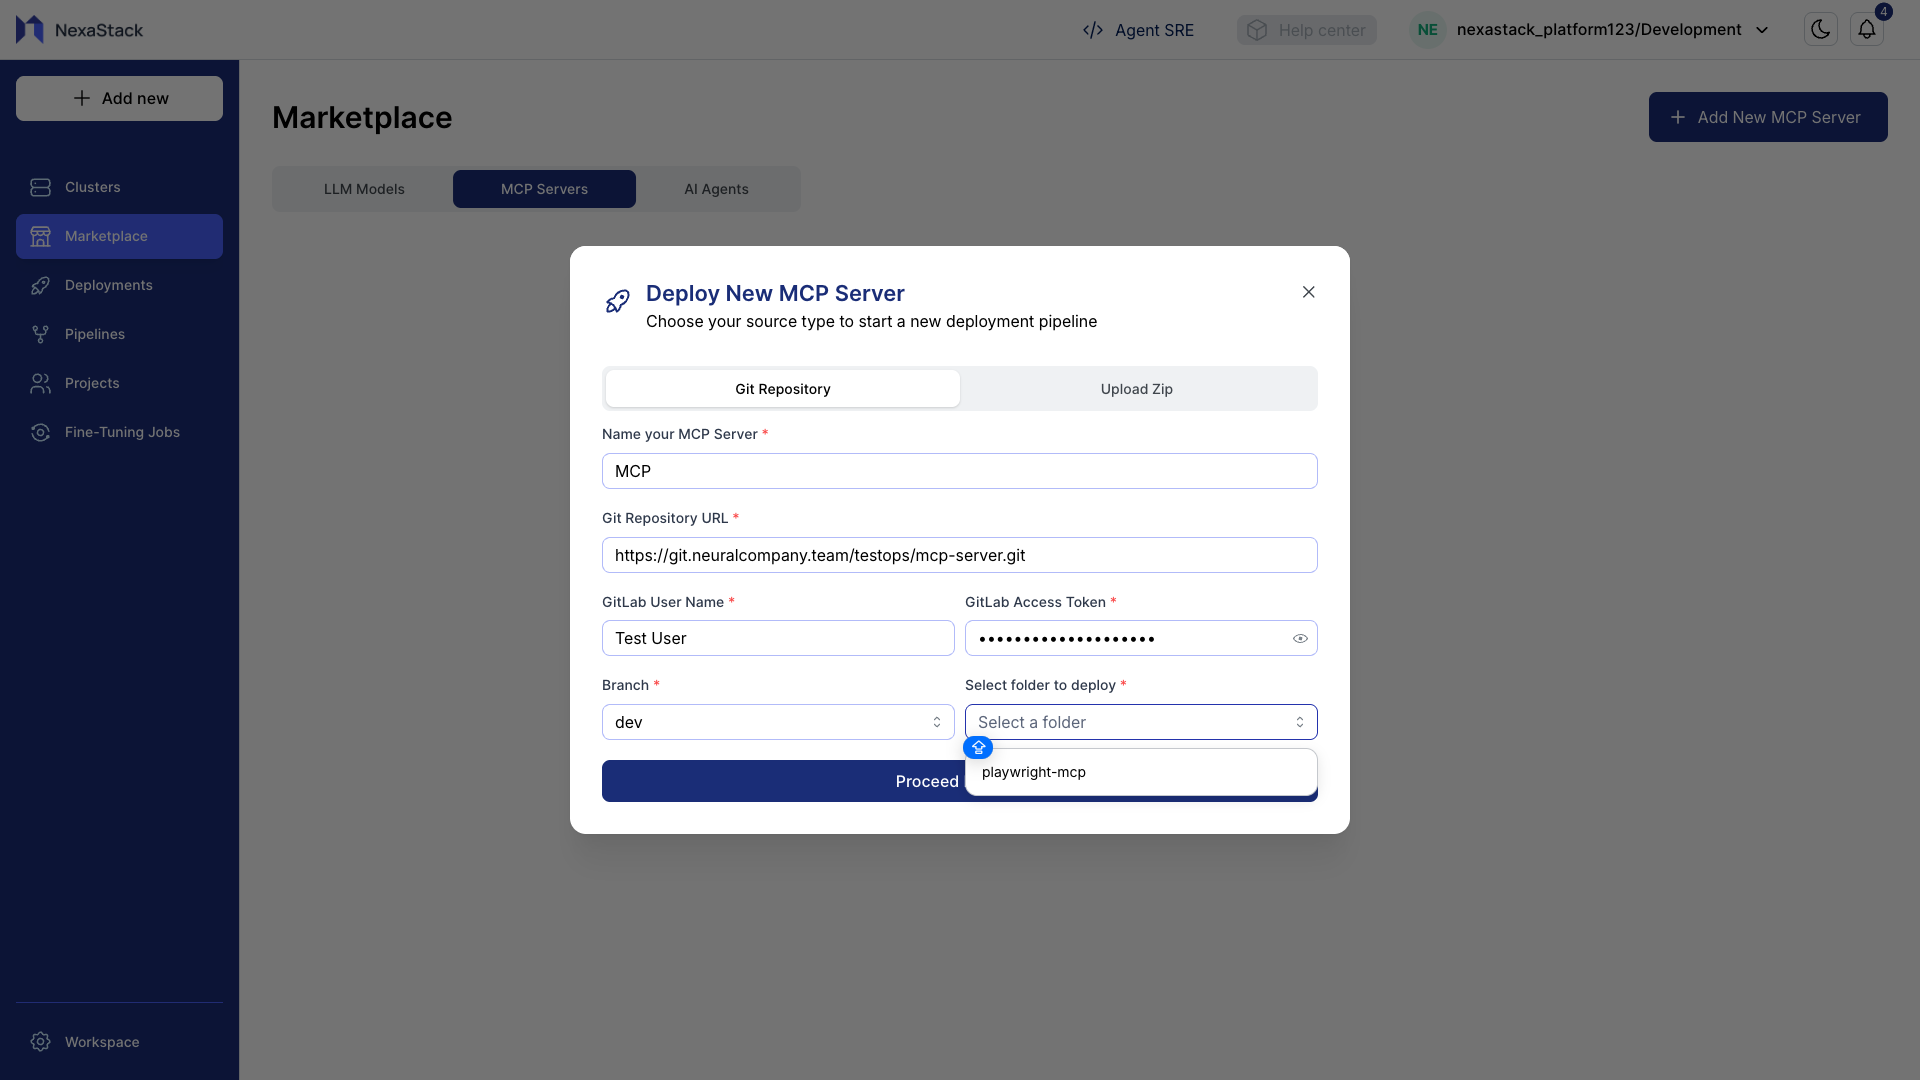
| Branch | Select a branch (auto-populated) |
- Ensure the repository follows a mono-architecture structure (all MCP server components in one repo).
- The platform automatically detects the MCP server structure to validate deployment.
- Click Proceed Next to continue.
Make sure your repository contains all MCP server components. Branch selection is important; the platform will auto-detect the MCP server structure.
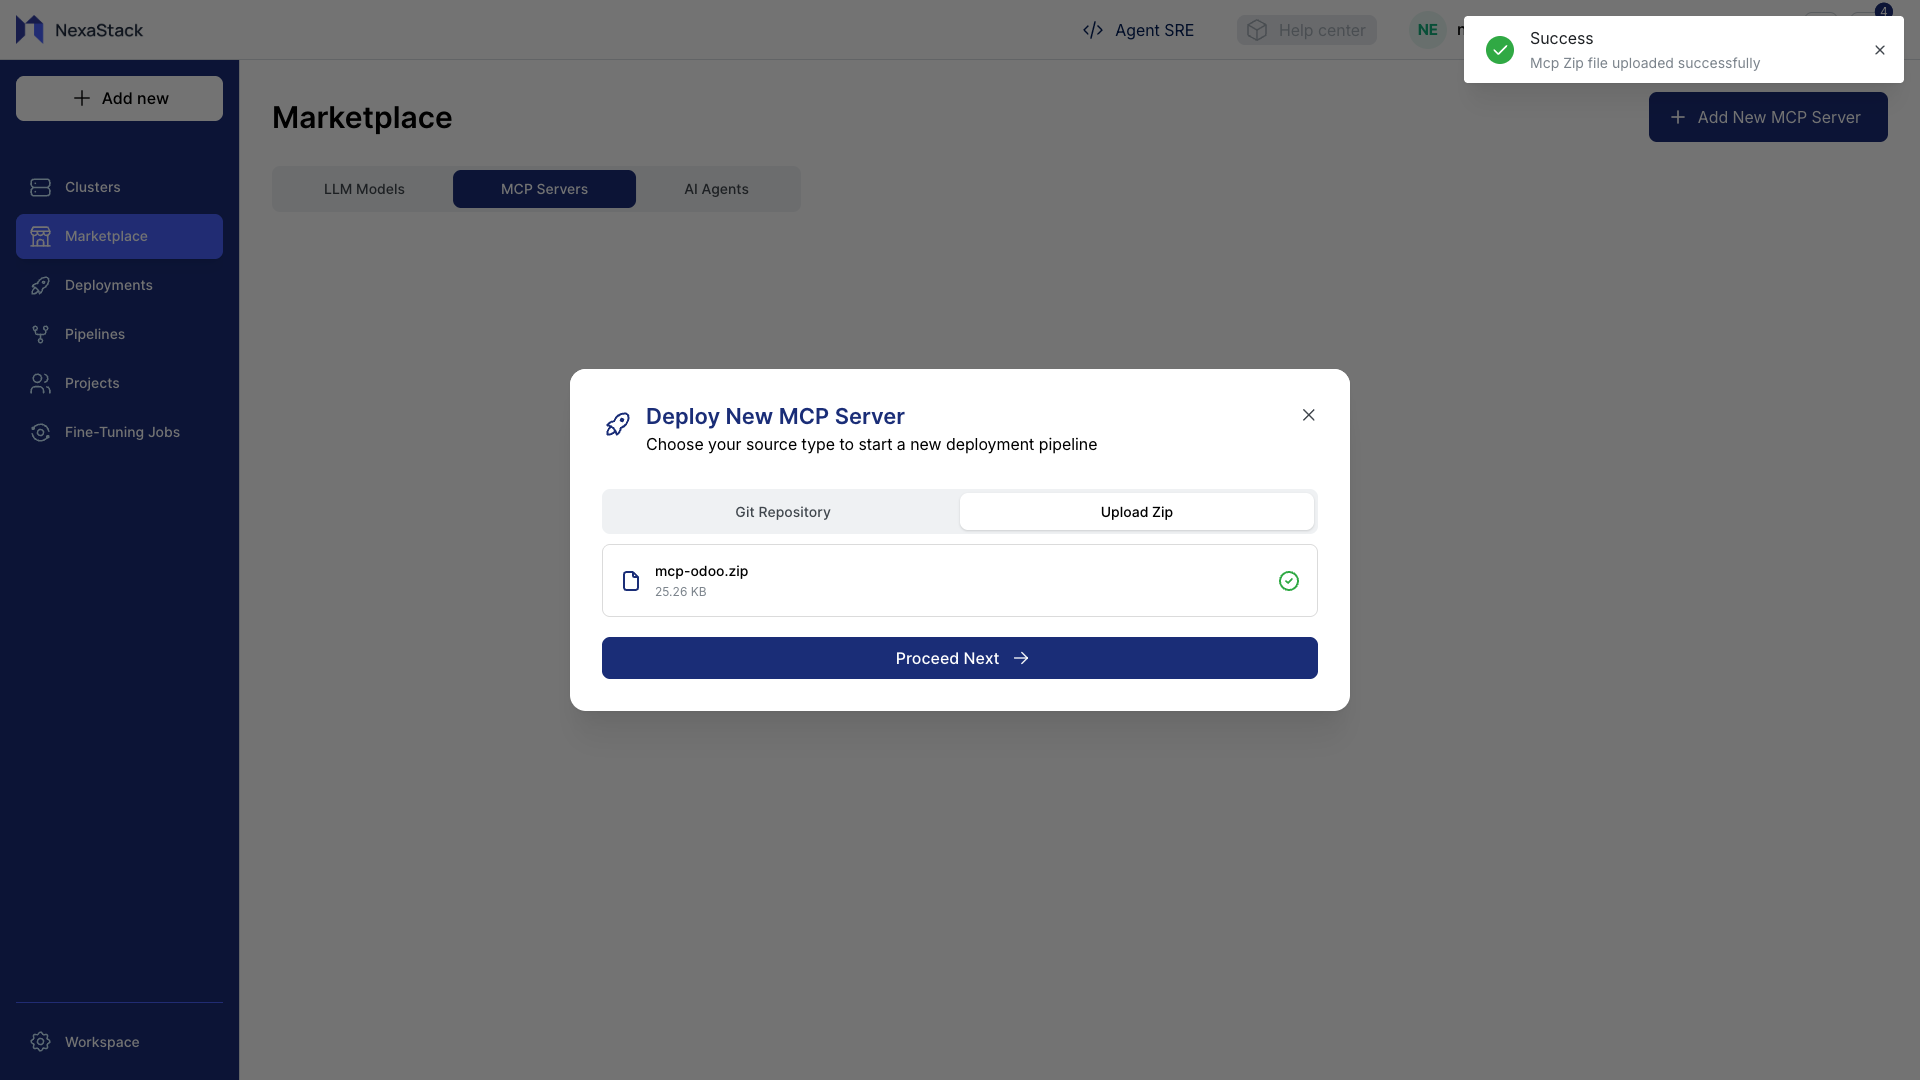
Step 5: Upload Zip Method
- Click Upload Zip.
- Select the MCP zip file (e.g.,
mcp-odoo.zip) from your local machine. - Click Upload File to send it to the server.
- Wait for the upload to complete and verify the file appears in the list.
- Click Proceed Next to continue.
Ensure the zip file contains all necessary configuration and application files. Incomplete packages may cause deployment failures.
Step 6: Enter Resource Requirements
- The Resource Requirements page will appear.
- Enter CPU and Memory Requests (minimum required resources):
| Resource | Example Value | Unit |
|---|---|---|
| CPU | 10 | millicores (m) or cores |
| Memory | 128 | Mi or Gi |
- Enter CPU and Memory Limits (maximum allowed resources):
| Resource | Example Value | Unit |
|---|---|---|
| CPU | 150 | millicores (m) or cores |
| Memory | 512 | Mi or Gi |
- Verify all input fields are filled correctly.
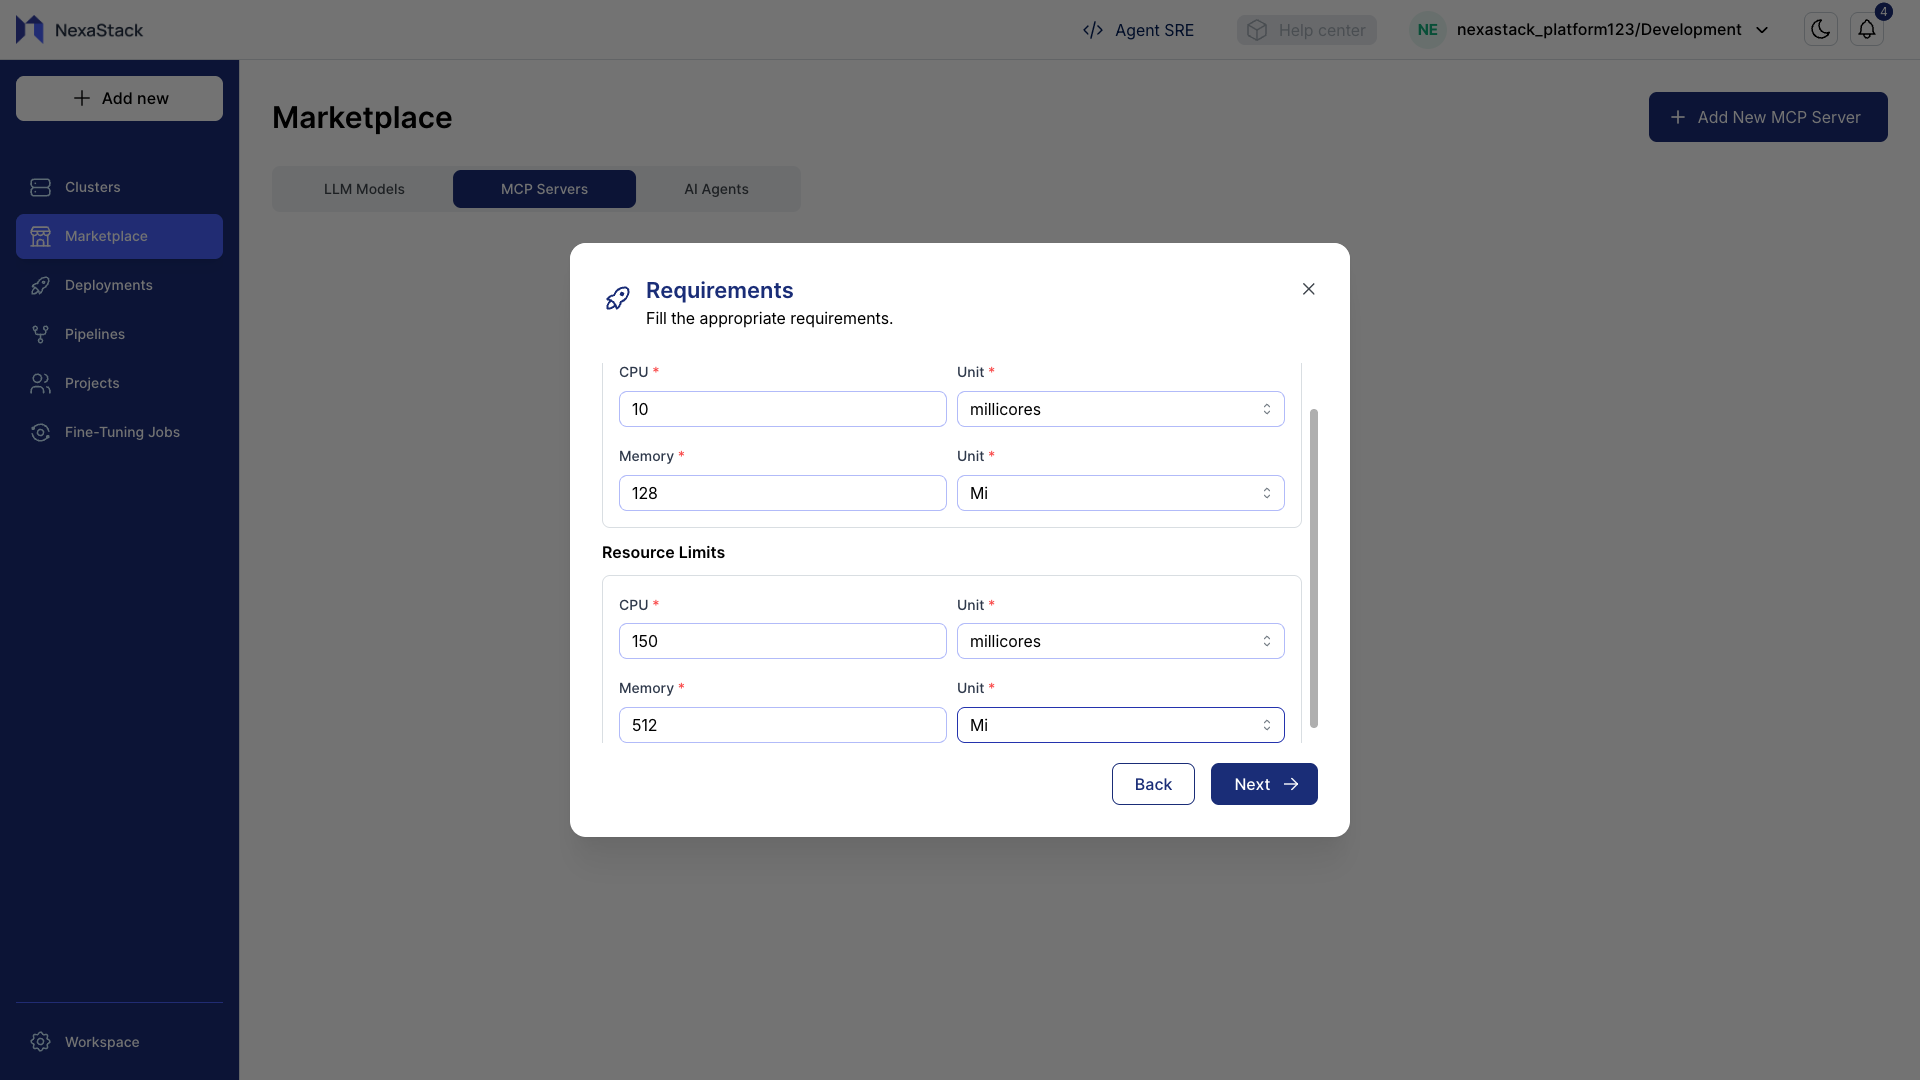
Set CPU and memory limits based on expected server load to avoid throttling or resource exhaustion.
Step 7: Select Cluster
- Choose a Cluster (or another available option based on your infrastructure).
- This determines how and where the MCP server will be provisioned and managed.
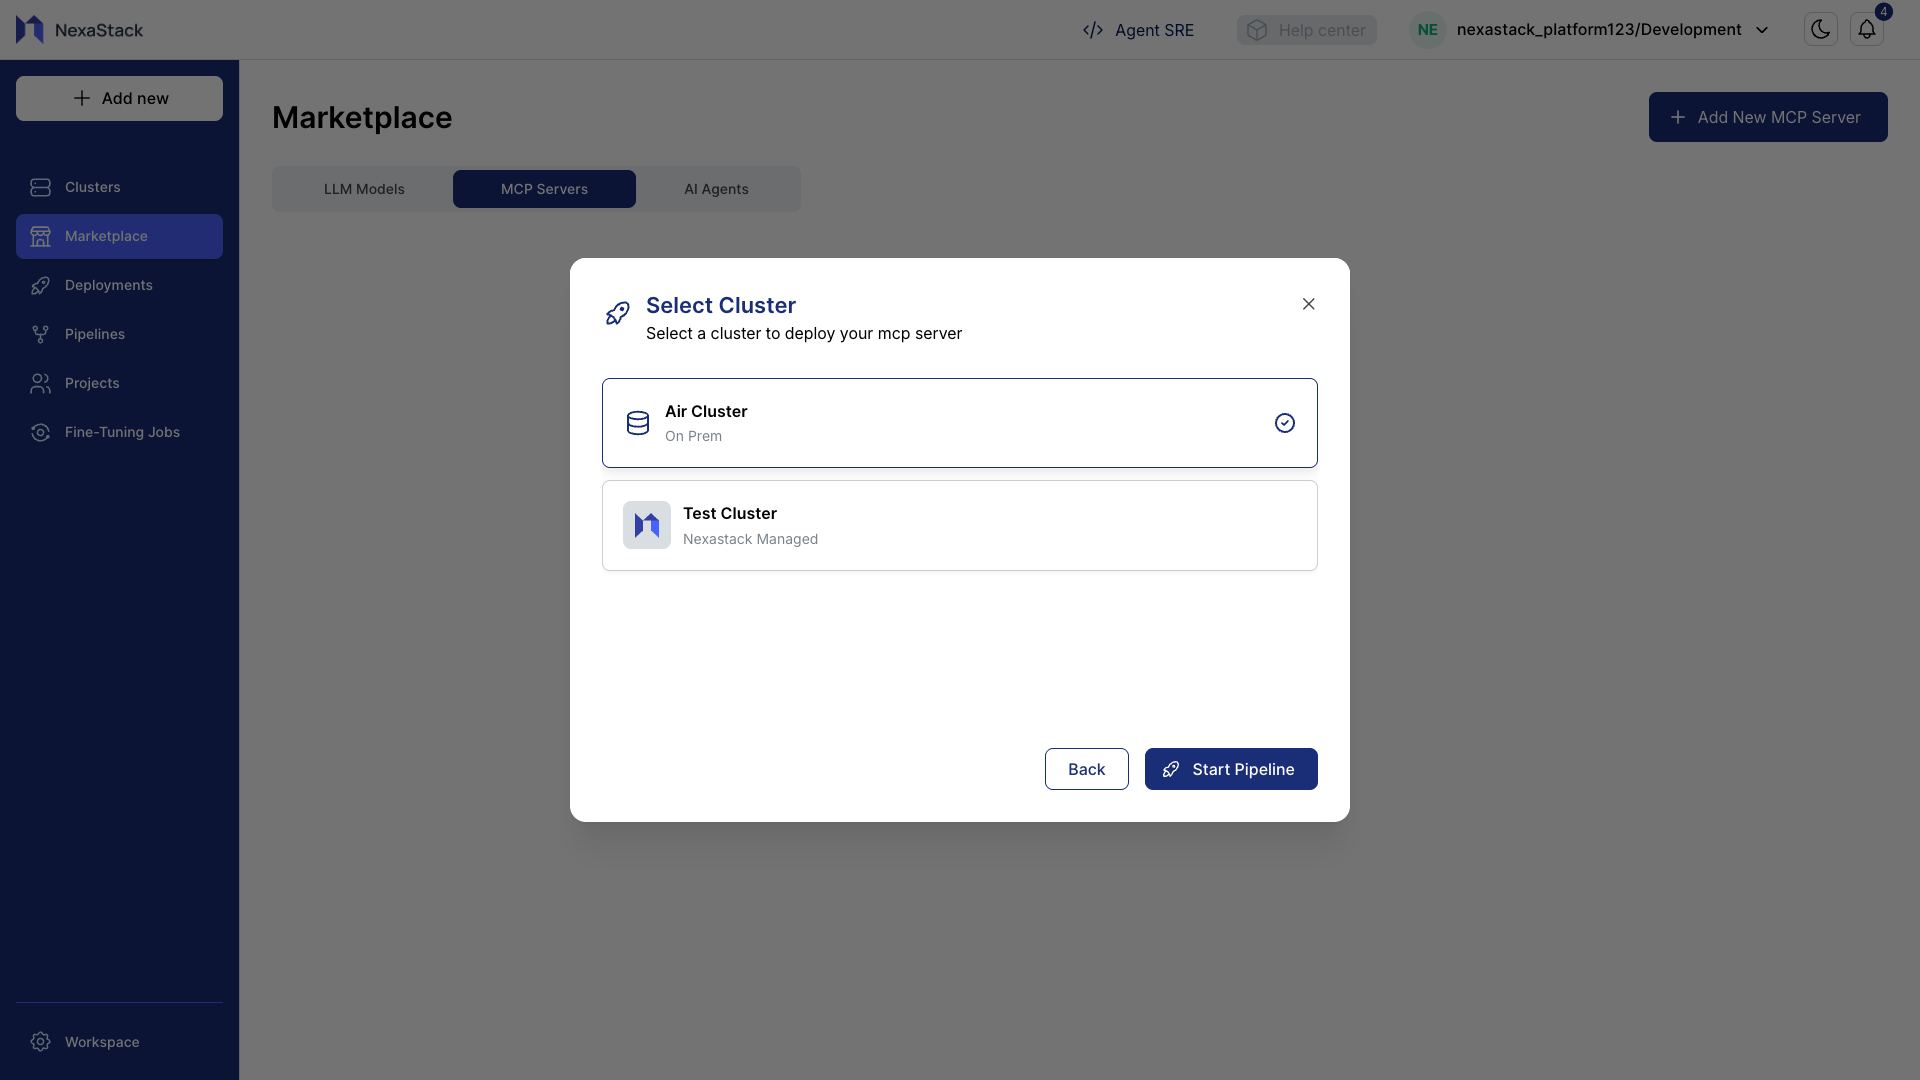
If you don’t have a cluster yet, review your preferences and onboard a cluster accordingly.
Follow this step-by-step guide to set up your cluster:
👉 Onboard a Cluster
Step 8: Start Deployment Pipeline
- Click Start Pipeline to initiate the MCP server deployment.
- The platform will launch the deployment workflow.
- Monitor the status of the deployment:
- Pending: Server is waiting to start.
- Running: Deployment in progress. s
- Succeeded: Deployment completed successfully.
- Failed: Deployment encountered errors (check logs for details).
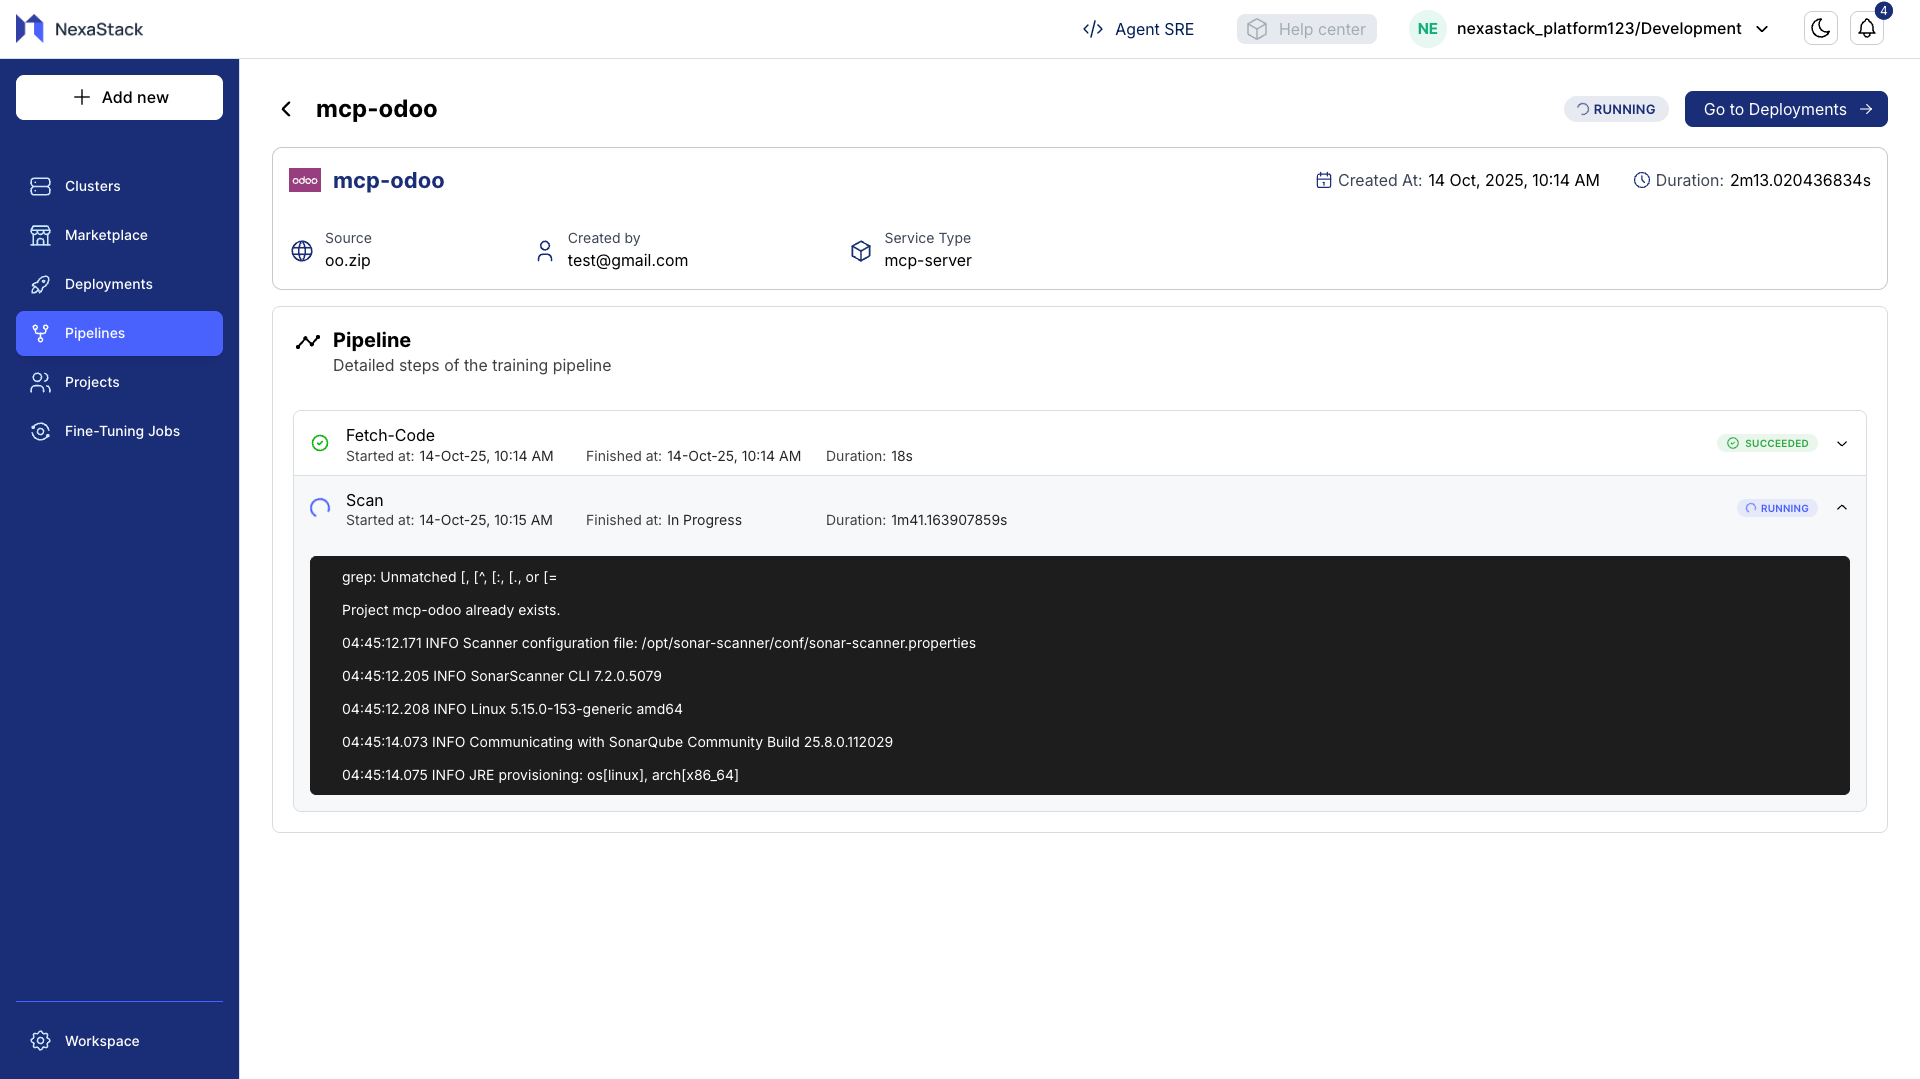
Use the console logs and pipeline dashboard to verify each step of the deployment. This helps identify issues early if the deployment fails.
Best Practices
- Validate Zip Files: Always check your MCP zip file before upload.
- Resource Planning: Allocate CPU and memory carefully to prevent under/over-provisioning.
- Select Correct Deployment Type: Ensure you choose the type that matches your infrastructure.
- Monitor Logs: Watch the deployment logs to catch errors immediately.
- Testing: After deployment, test the MCP server functionality before production use.
Next Steps
- Access the deployed MCP server via the server URL provided in the deployment dashboard.
- Deploy AI agents or services on the MCP server.
- Monitor server performance and resource usage in NexaStack dashboards.
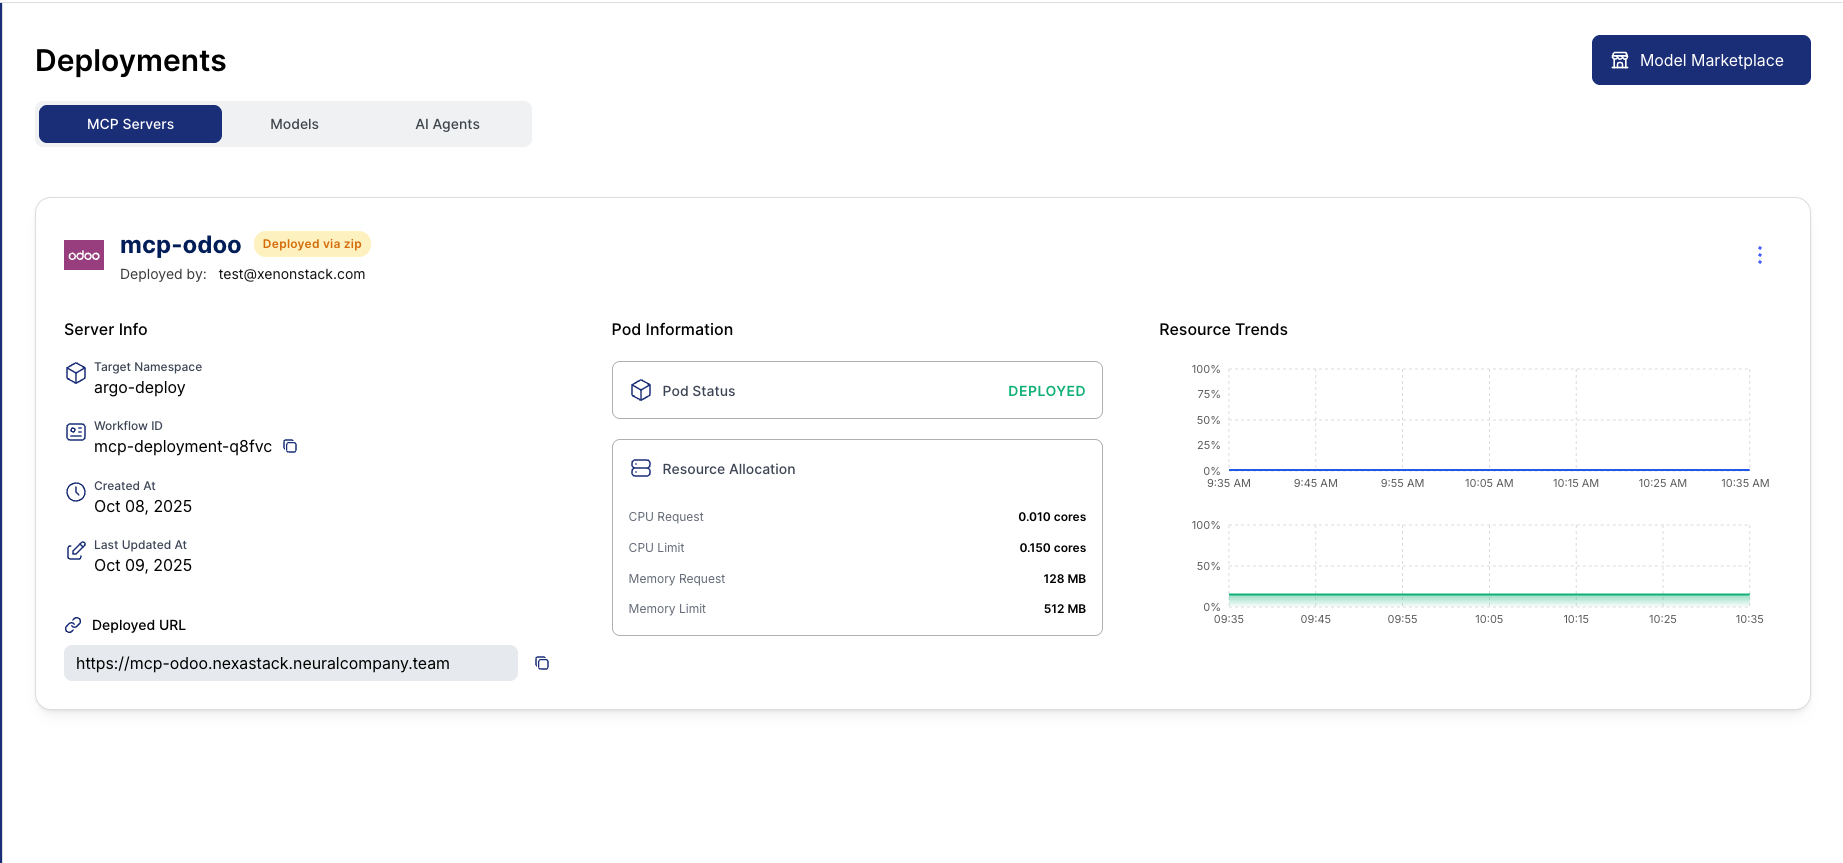
You have successfully added and deployed a new MCP server in NexaStack.
The server is now available for model deployments and agent integration.