Project Management
Once a project is created, you can manage its members, roles, permissions, and activities through the Project Overview interface.
Inviting Team Members
Invite members to a project via email with assigned roles and permissions.
Steps to Invite Members
- In Project Overview, click Invite to open the invitation modal.
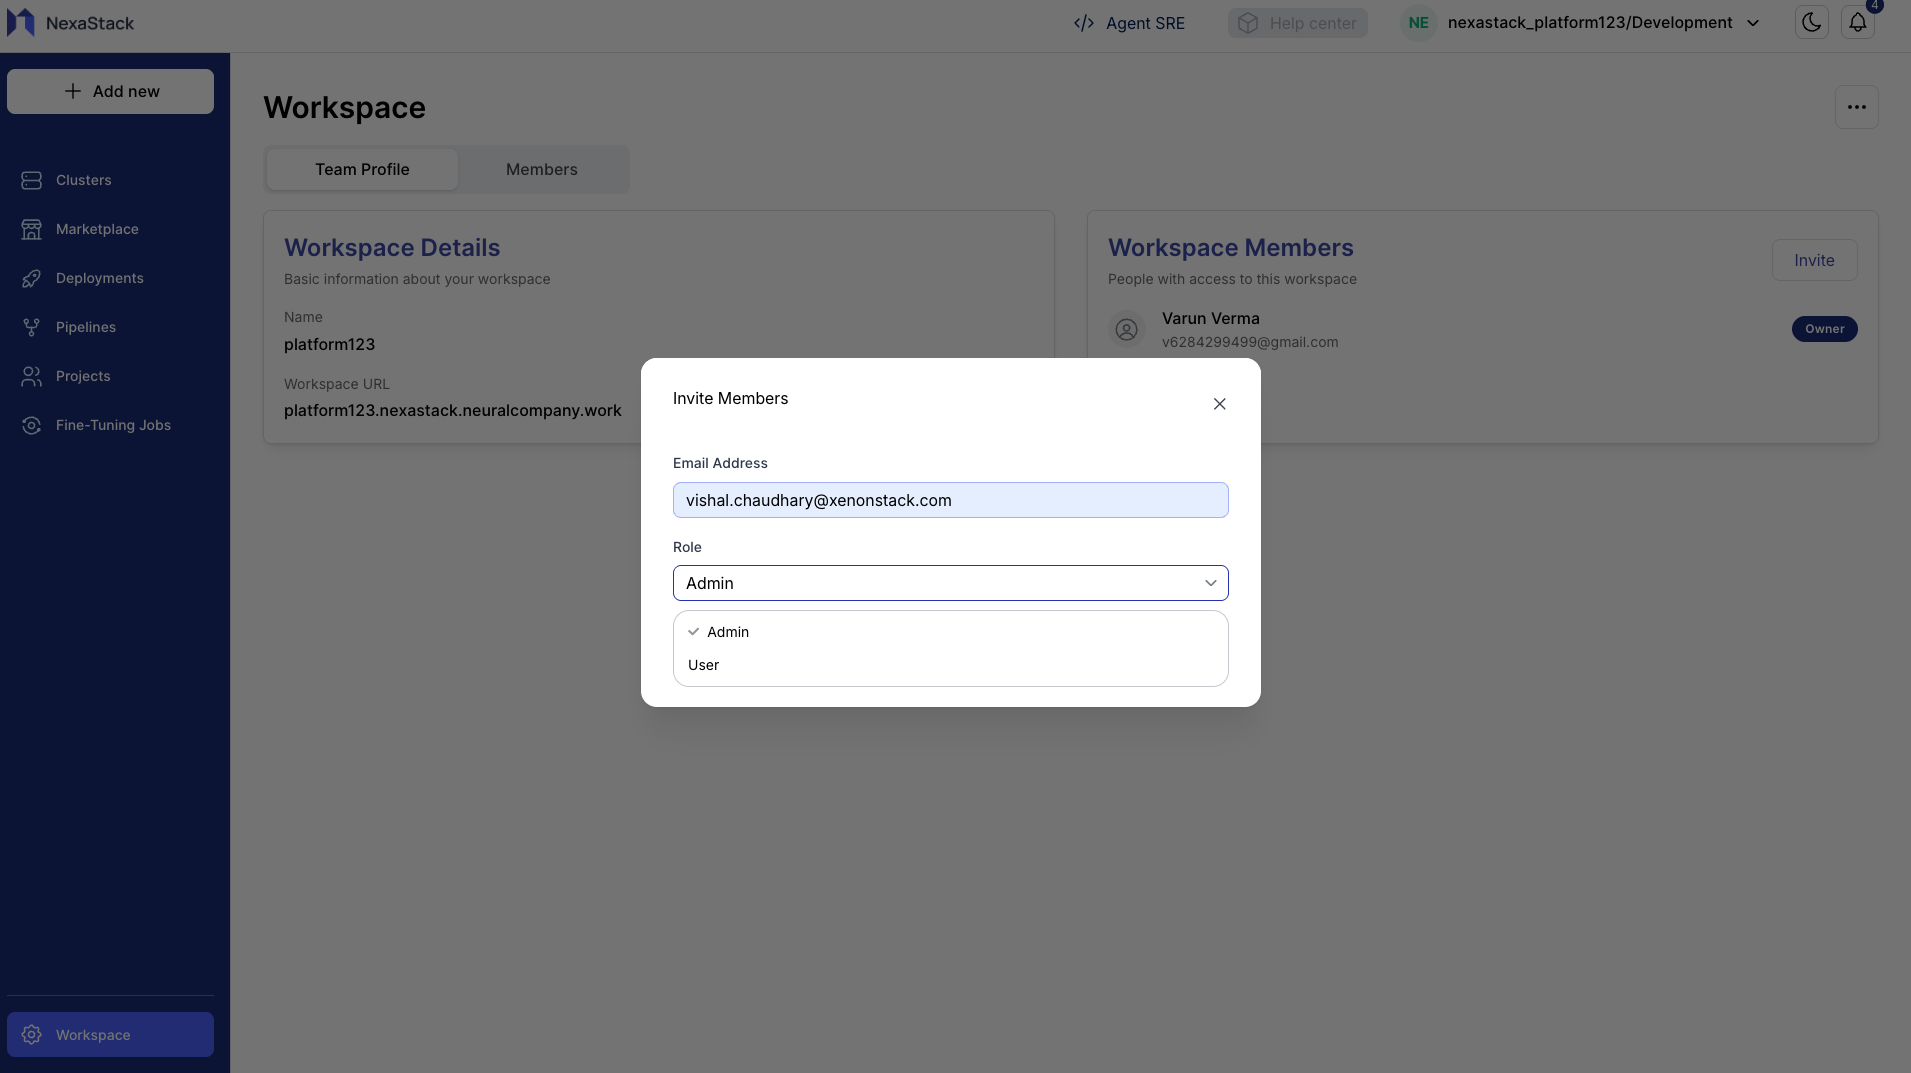
- Enter the member's email address.
Make sure the member you are trying to add to this project is already part of the workspace. If the member is not in the workspace, you will not be able to add them to the project.
To add a member to the workspace, visit Workspace Creation Guide.
- Assign a role:
- Admin: Full project management privileges
- User: Standard access
- Choose the environment for onboarding.
- Select permissions:
- All Permissions
- Read Only
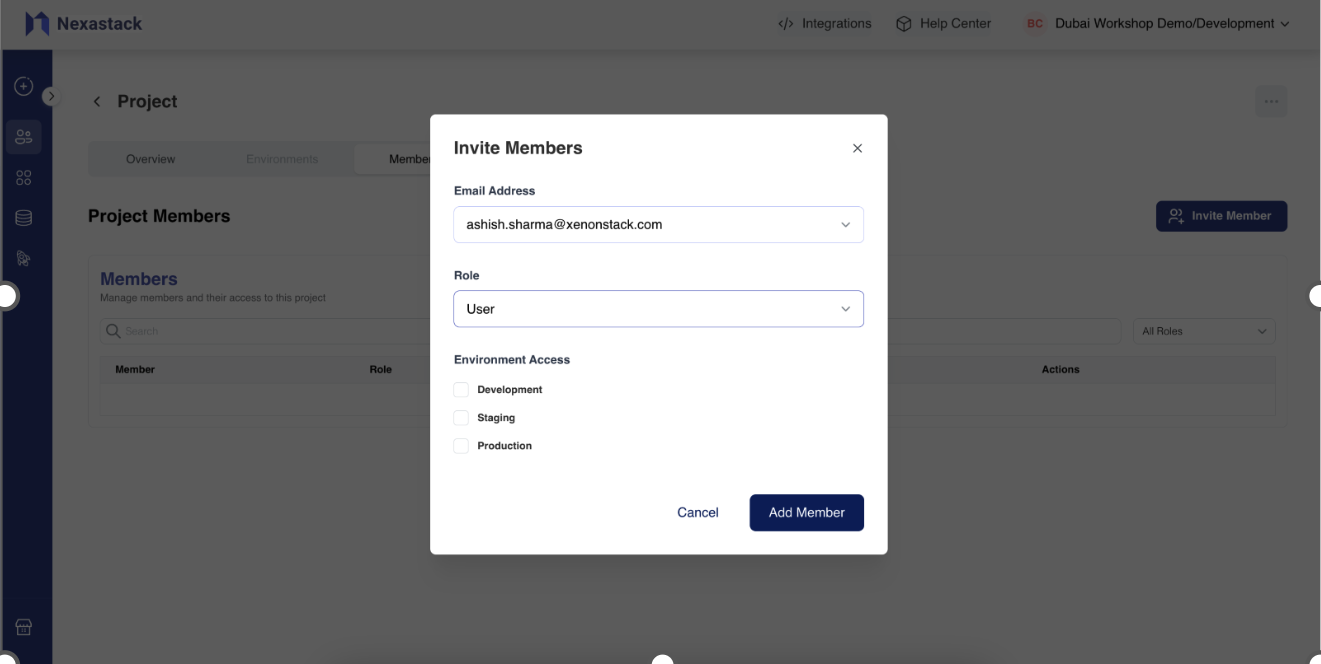
- Click Add Member.
A confirmation message appears, and the new member receives an invitation email.
New Member Onboarding
- Click the invite link in the email.
- Sign up or log in to the platform.
- The member is automatically redirected to the Marketplace within the platform.
Managing Members
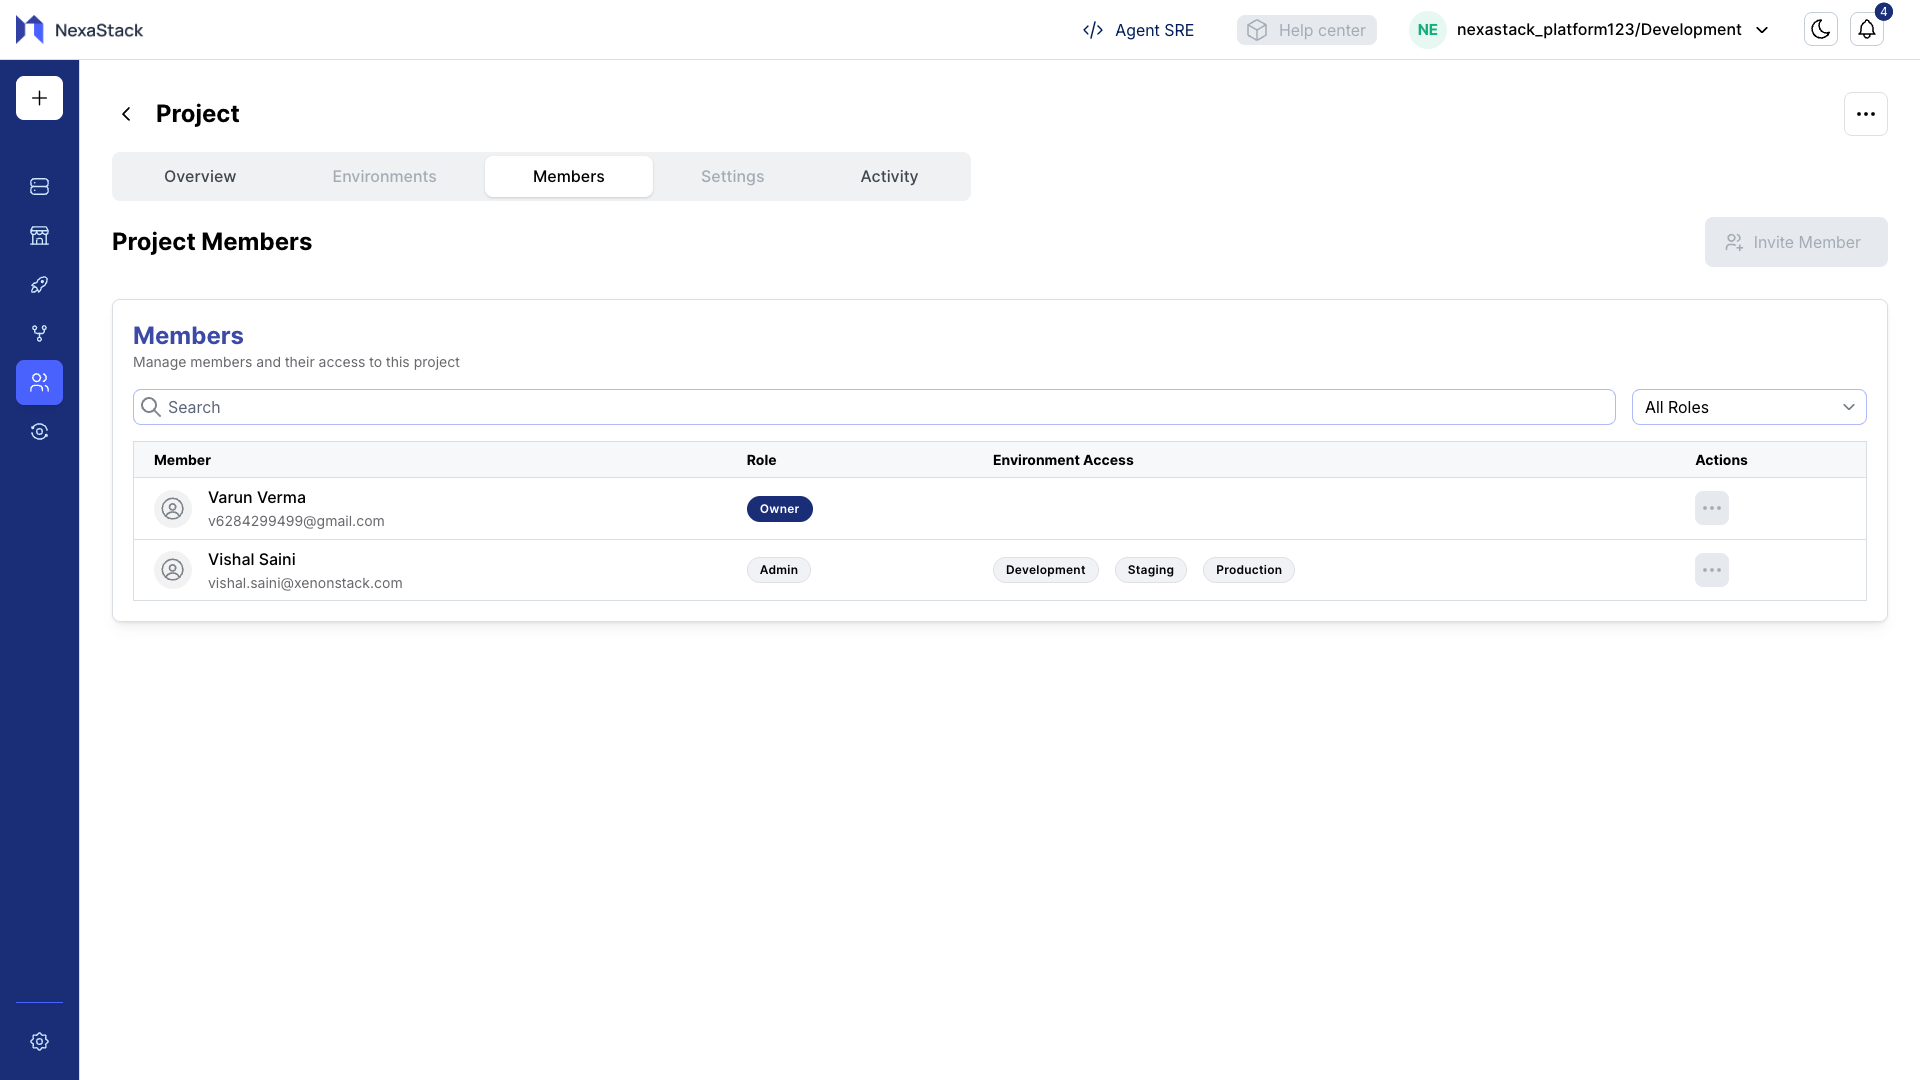
Members Tab
Under the Members tab in a project, you can:
- View Member Name, Role, and Environment
- Search and sort members
- Remove members (cannot be recovered once removed)
Removing a member is permanent. Make sure you confirm before proceeding.
Member Roles
- Admin: Can manage project, roles, and resources.
- User: Can view and contribute but has limited management capabilities.
Recent Activity
The Recent Activity section displays:
- Invitations
- Role changes
- Project updates
- Member activities
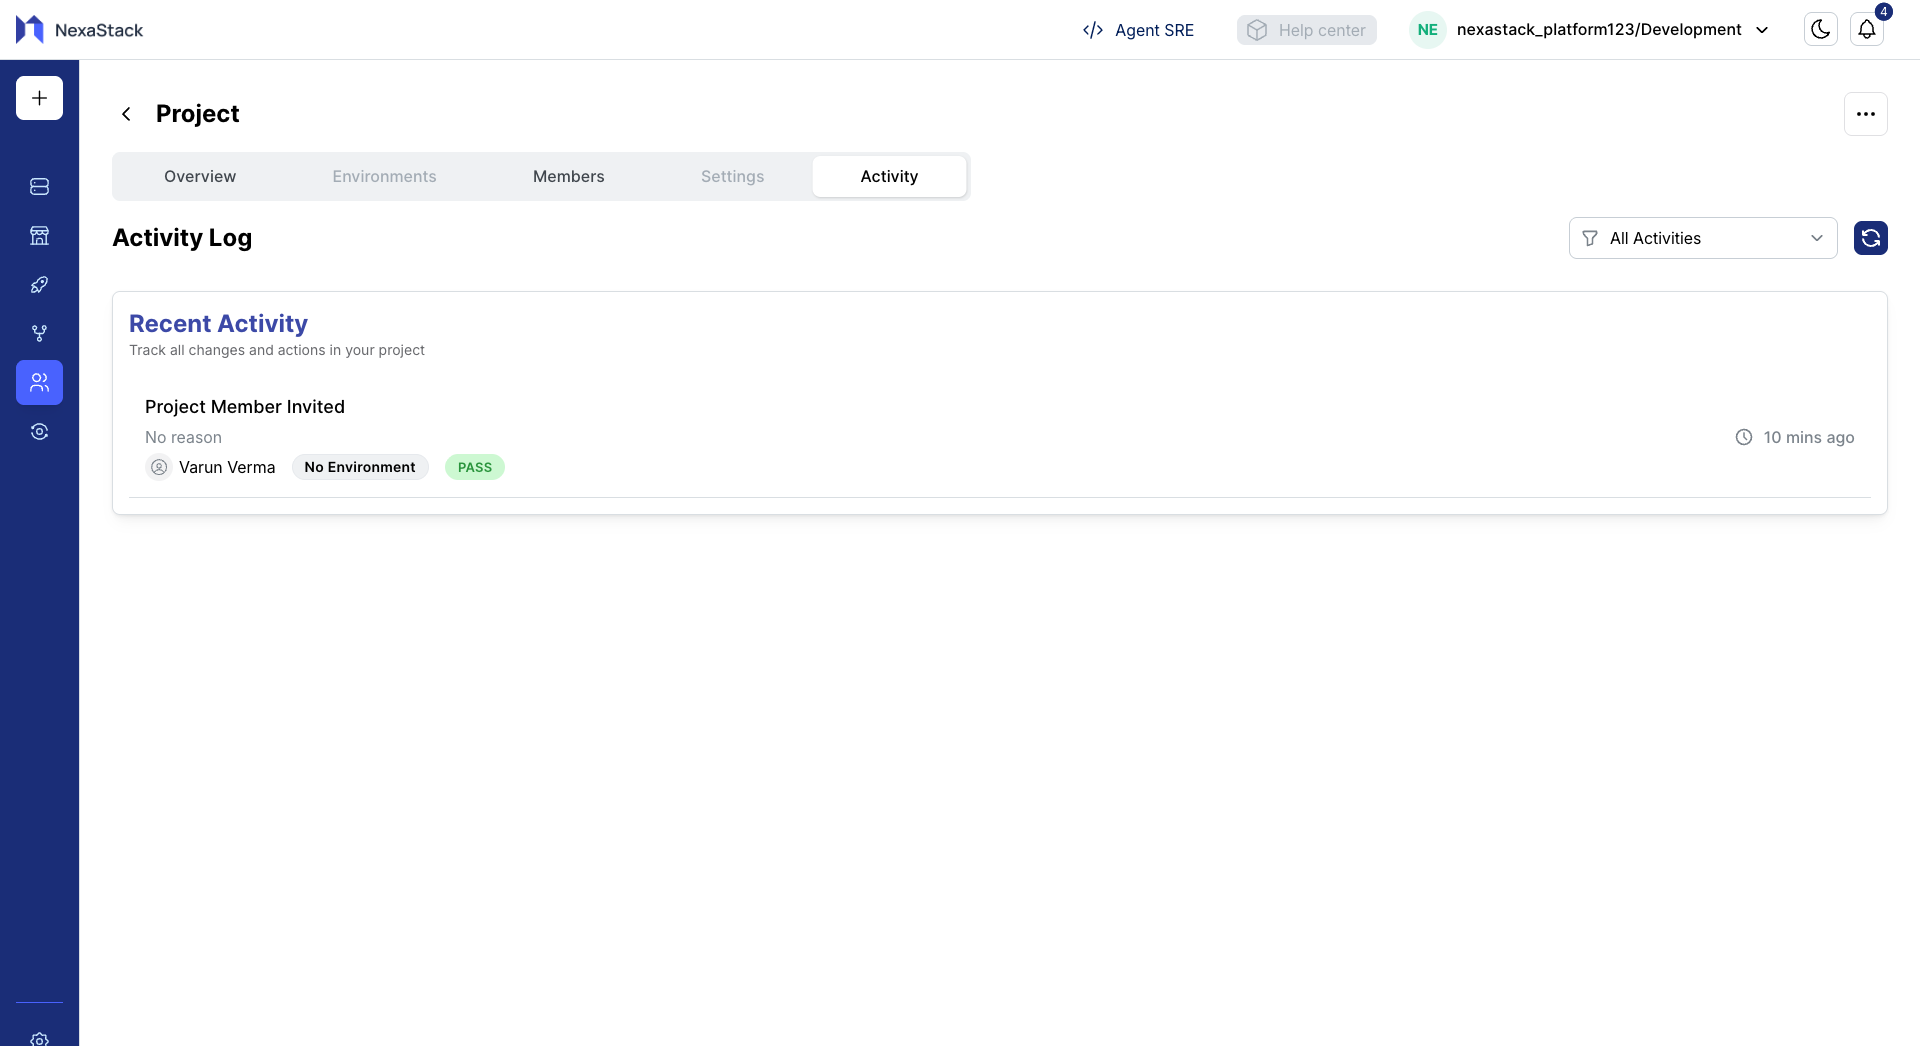
Keep track of who did what and when, ensuring transparency and accountability.
Best Practices
Member Management
- Regularly review member roles and permissions.
- Assign only the necessary access for each member.
- Communicate role changes clearly.
Project Organization
- Maintain descriptive project names and clear documentation.
- Keep track of project progress and updates regularly.