Adding a On-premise Cluster
This section provides a step-by-step guide to adding and onboarding an on-premises Kubernetes cluster within the Nexastack platform.
Following these steps ensures that your cluster is configured correctly and ready for AI model deployment.
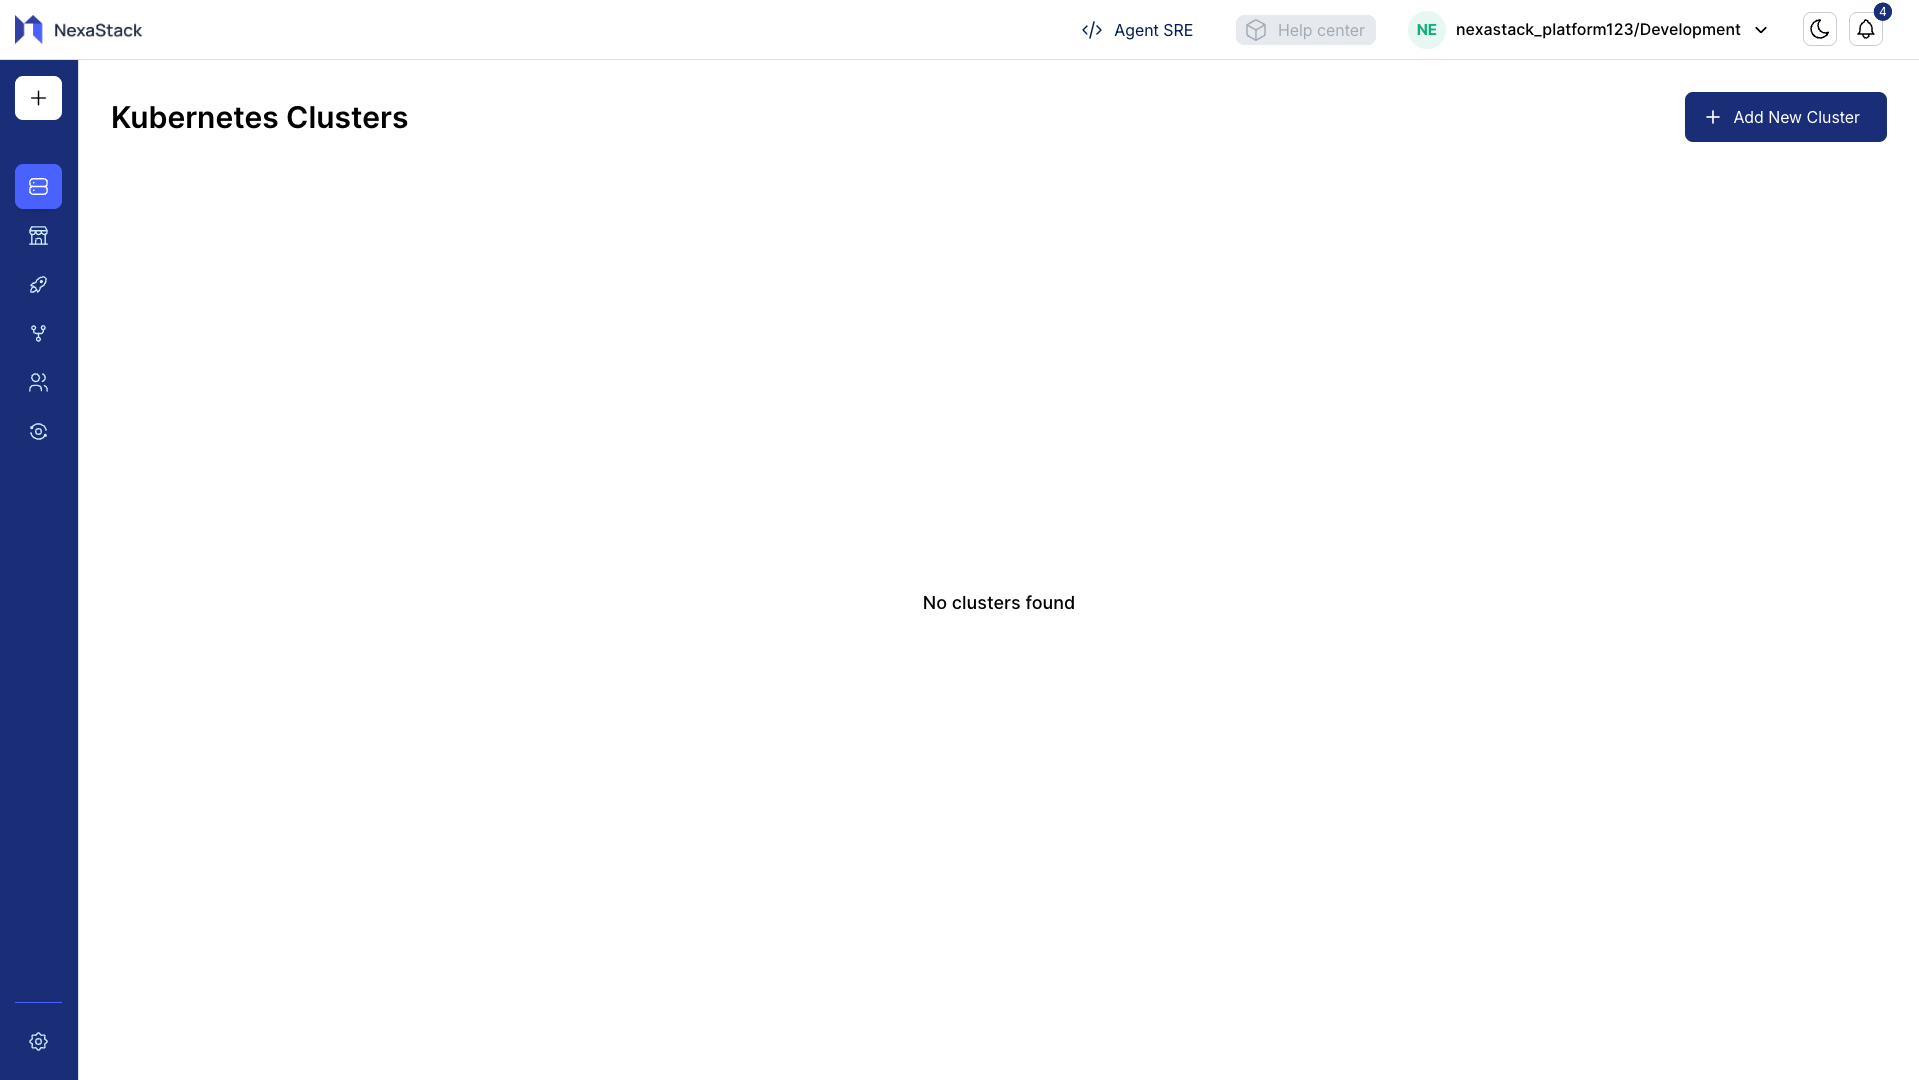
Step 1: Initiate Cluster Creation
- Navigate to the Clusters section from the sidebar or dashboard.
- Click Add New Cluster.
Step 2: Select Cluster Type
- Choose On-Premises as the cluster type.
- A configuration popup will appear prompting you to enter the cluster details.
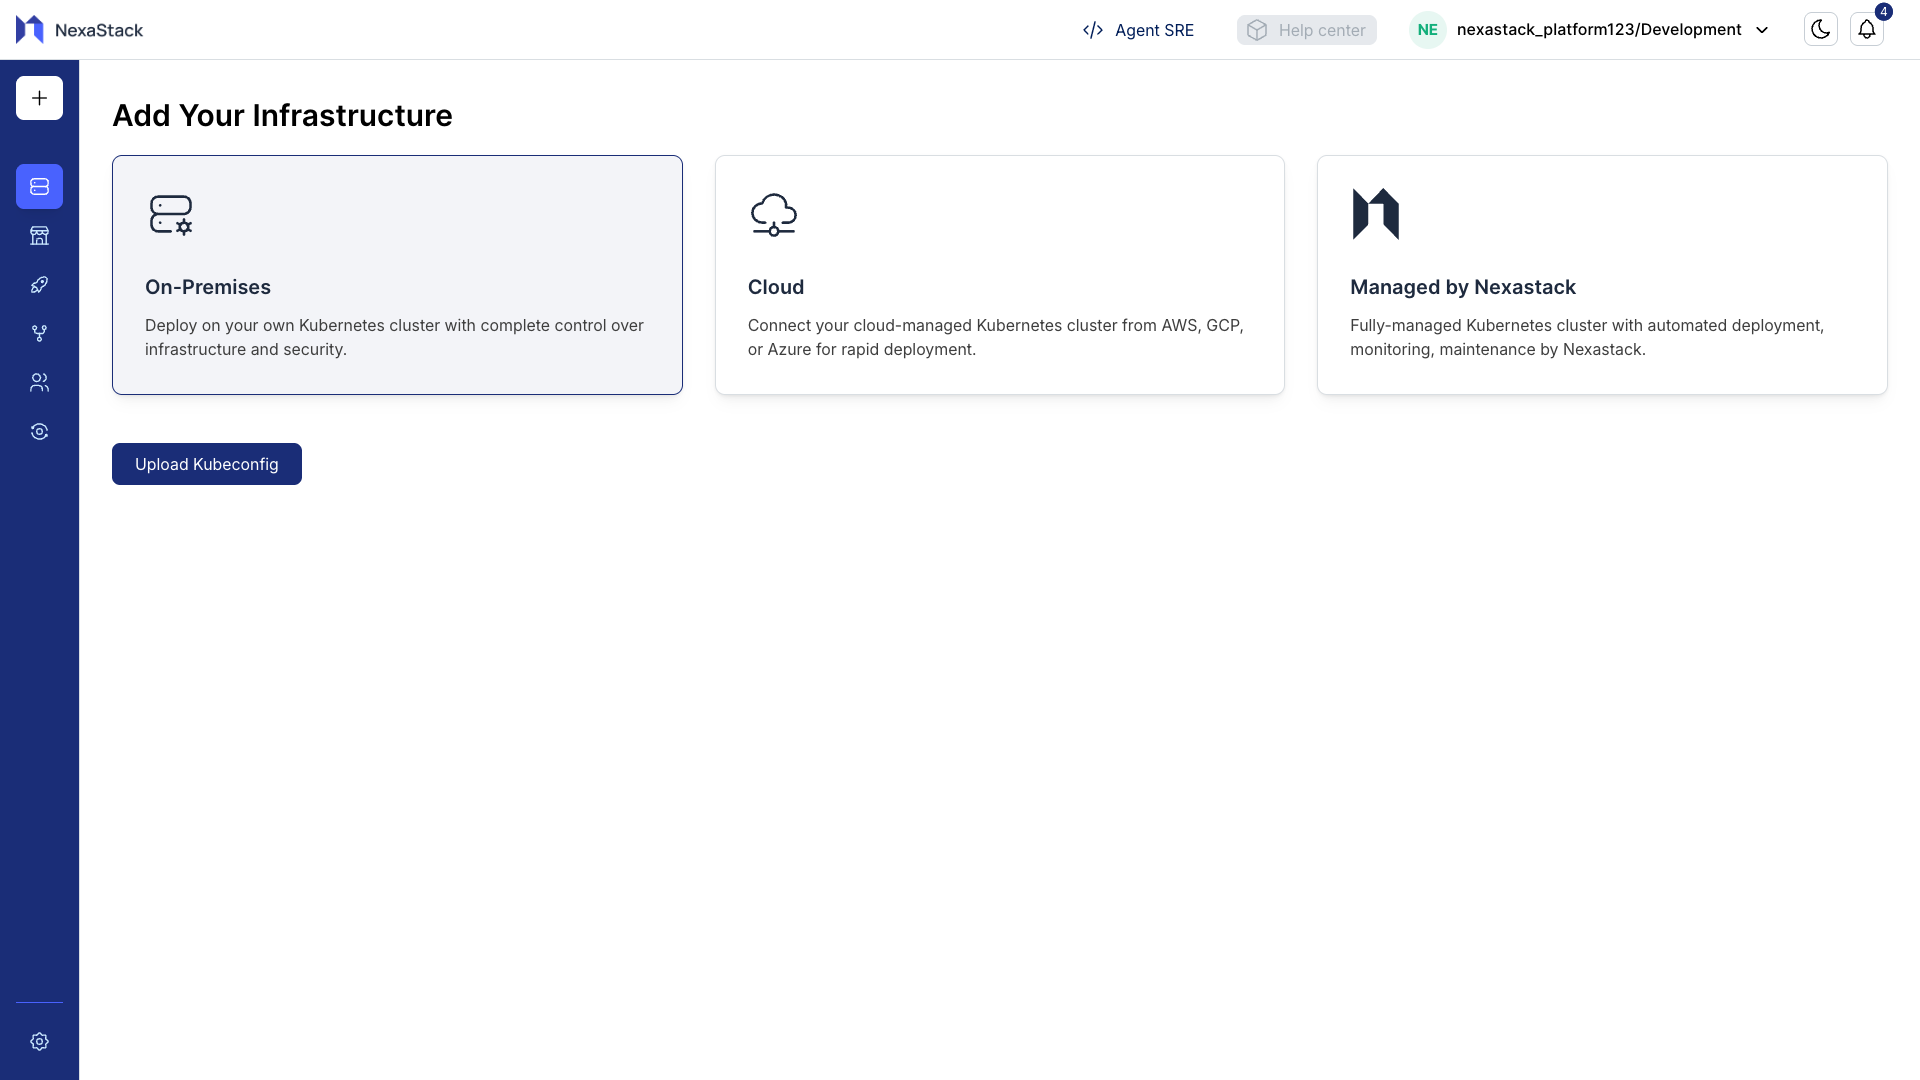
Nexastack supports multiple Kubernetes cluster types:
- Cloud Clusters: Hosted and managed by cloud providers for easy scalability.
- On-Premises Clusters: Deployed within your organization’s infrastructure for full control and compliance.
- Managed by Nexastack: Fully handled by Nexastack, including provisioning, updates, and monitoring.
Choose the cluster type that best aligns with your operational and infrastructure needs.
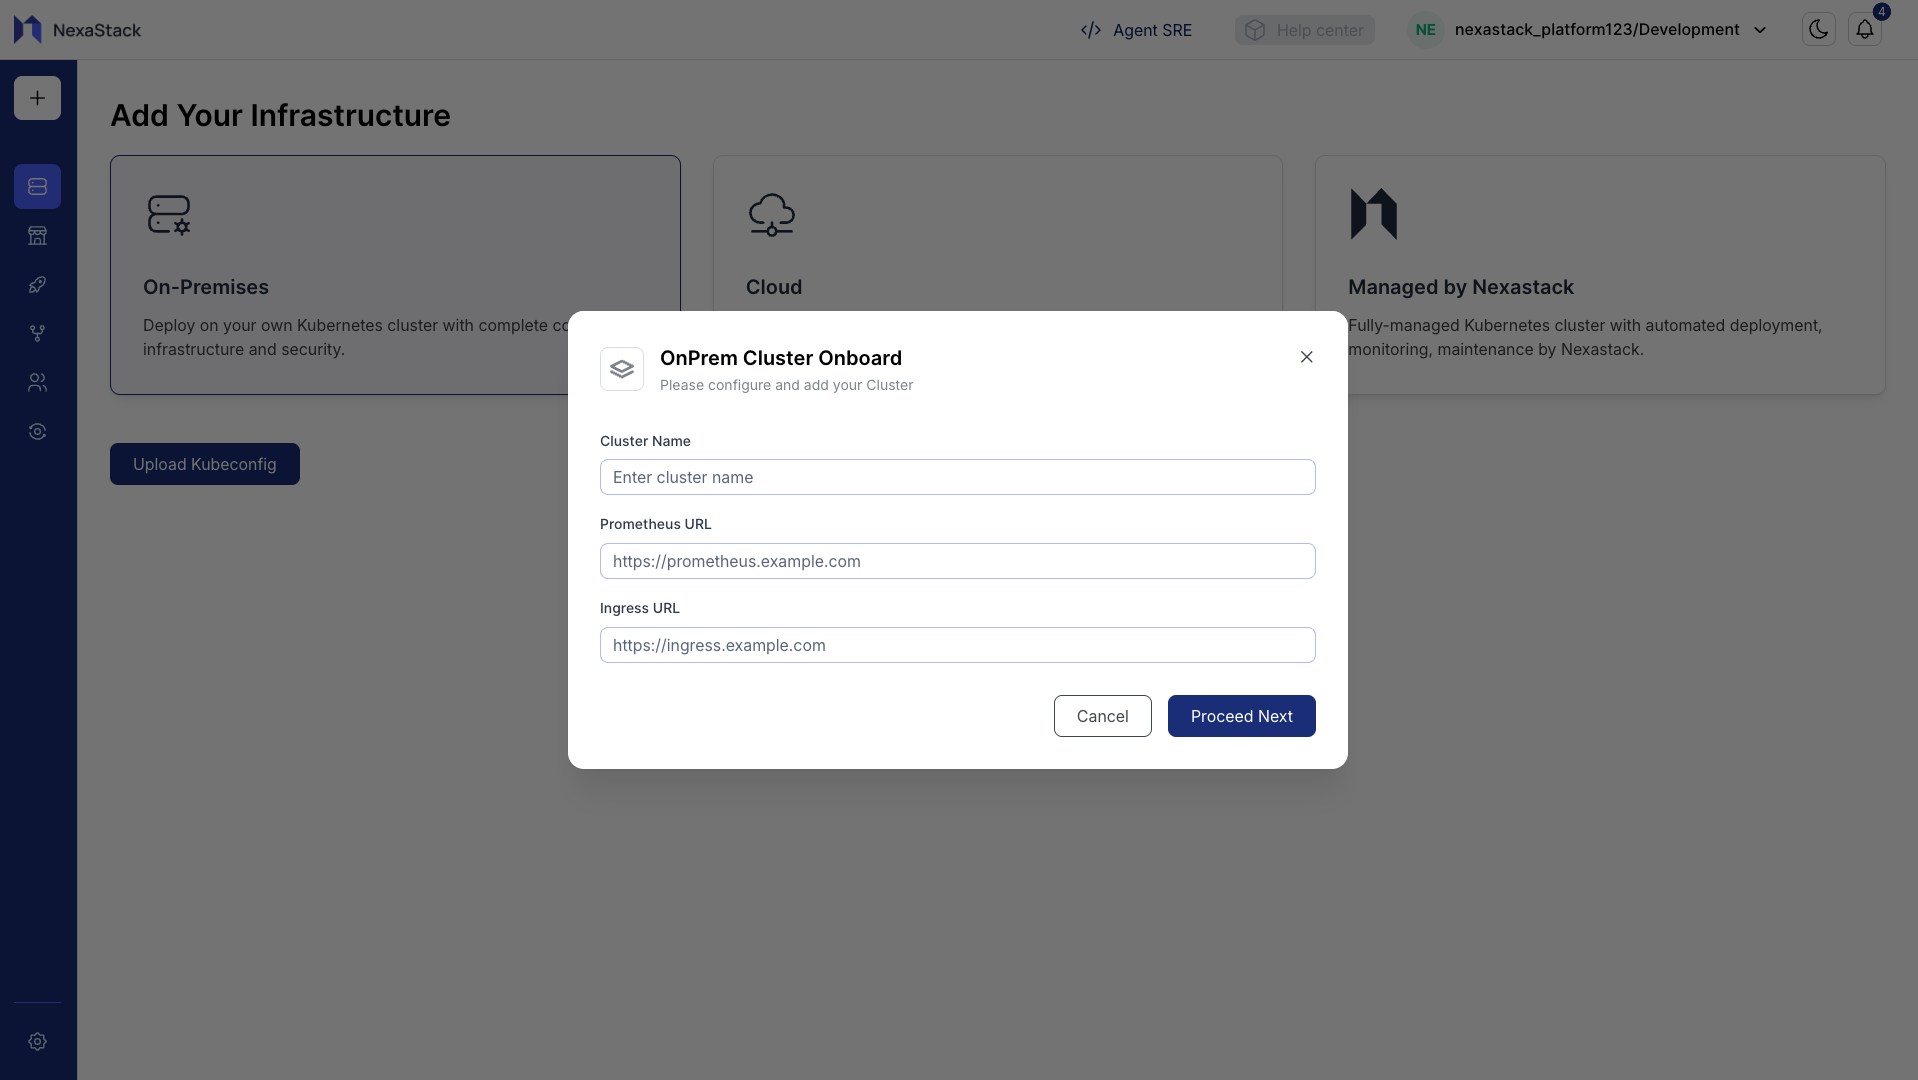
Step 3: Configure Cluster Details
Fill in the required fields in the configuration popup:
| Field | Example Value |
|---|---|
| Cluster Name | TeamX-Dev-Cluster |
| Prometheus URL | https://prometheus.example.com |
| Ingress URL | https://ingress.example.com |
Once all details are entered, click Proceed Next.
- Use clear, descriptive names to easily identify your clusters (e.g.,
akira-ai-onpremorml-prod-cluster). - Validate that Prometheus and Ingress URLs are correct and reachable within your network.
- Ensure the Ingress URL points to the appropriate domain or subdomain used by your Kubernetes services.
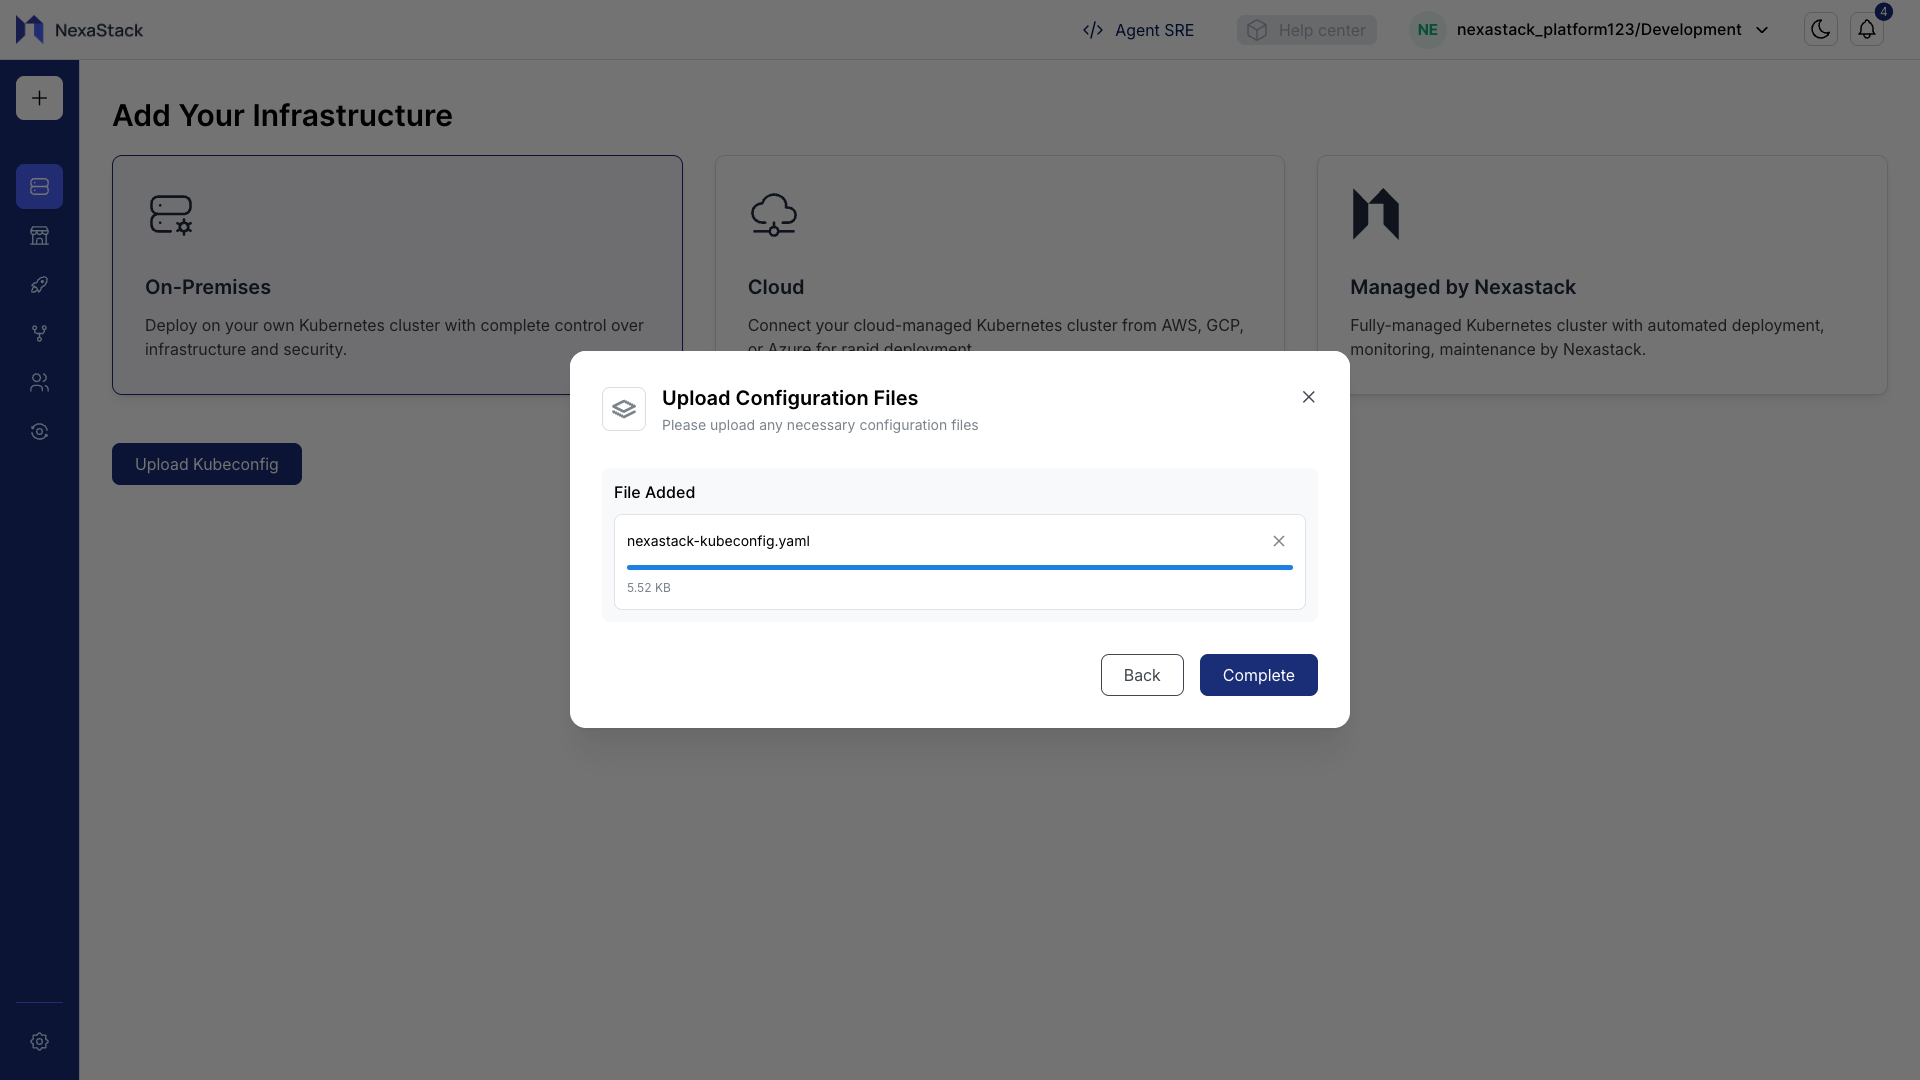
Step 4: Upload the Kubeconfig File
The kubeconfig file is essential for Nexastack to connect and manage your Kubernetes cluster.
-
Download the kubeconfig file from your cluster’s control plane and save it as a
.yamlfile.Secure HandlingThe kubeconfig file contains sensitive credentials. Store it securely and avoid sharing it externally.
-
Upload the downloaded kubeconfig file in the Nexastack interface.
-
Click Proceed Next to continue.
If the uploaded kubeconfig does not have adequate permissions, onboarding may fail.
Ensure the user or service account in the kubeconfig file has admin or cluster-wide privileges.
Step 5: Confirmation
- A popup confirmation will appear once the kubeconfig file is uploaded successfully.
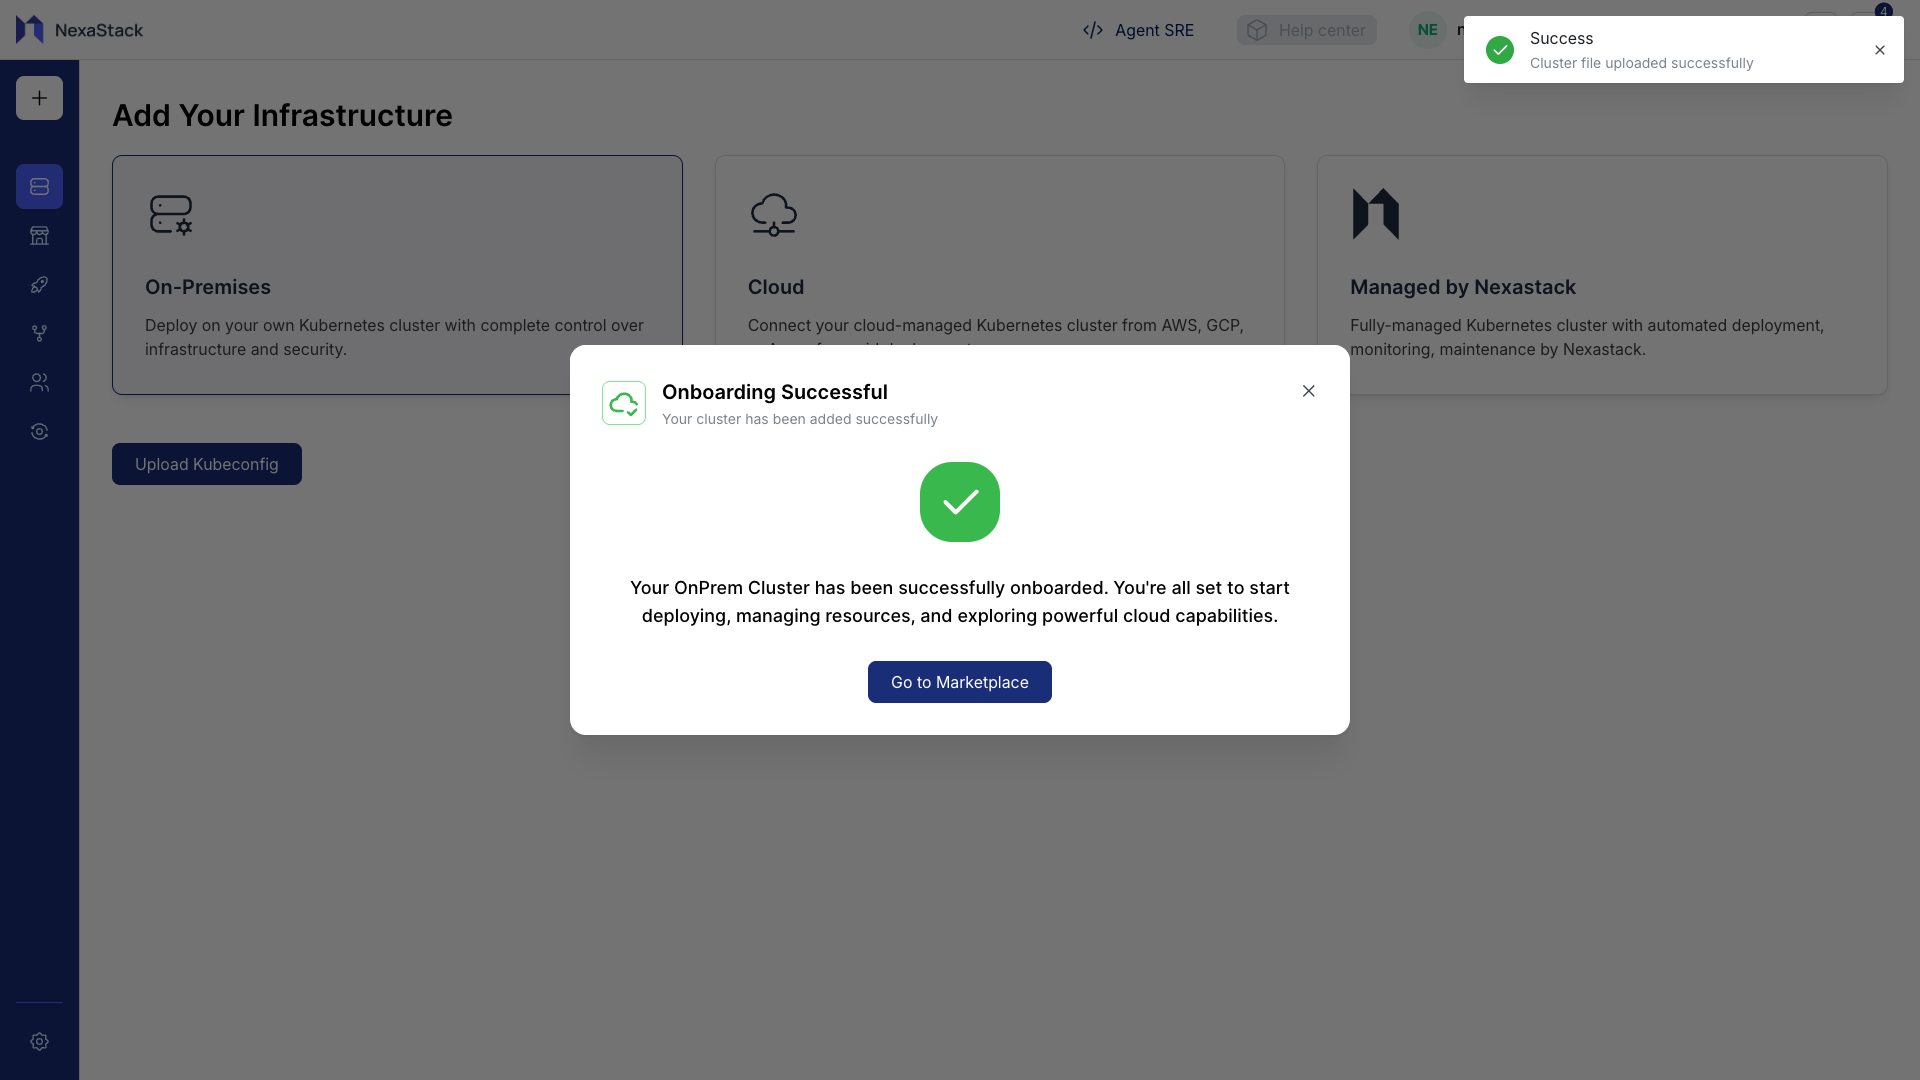
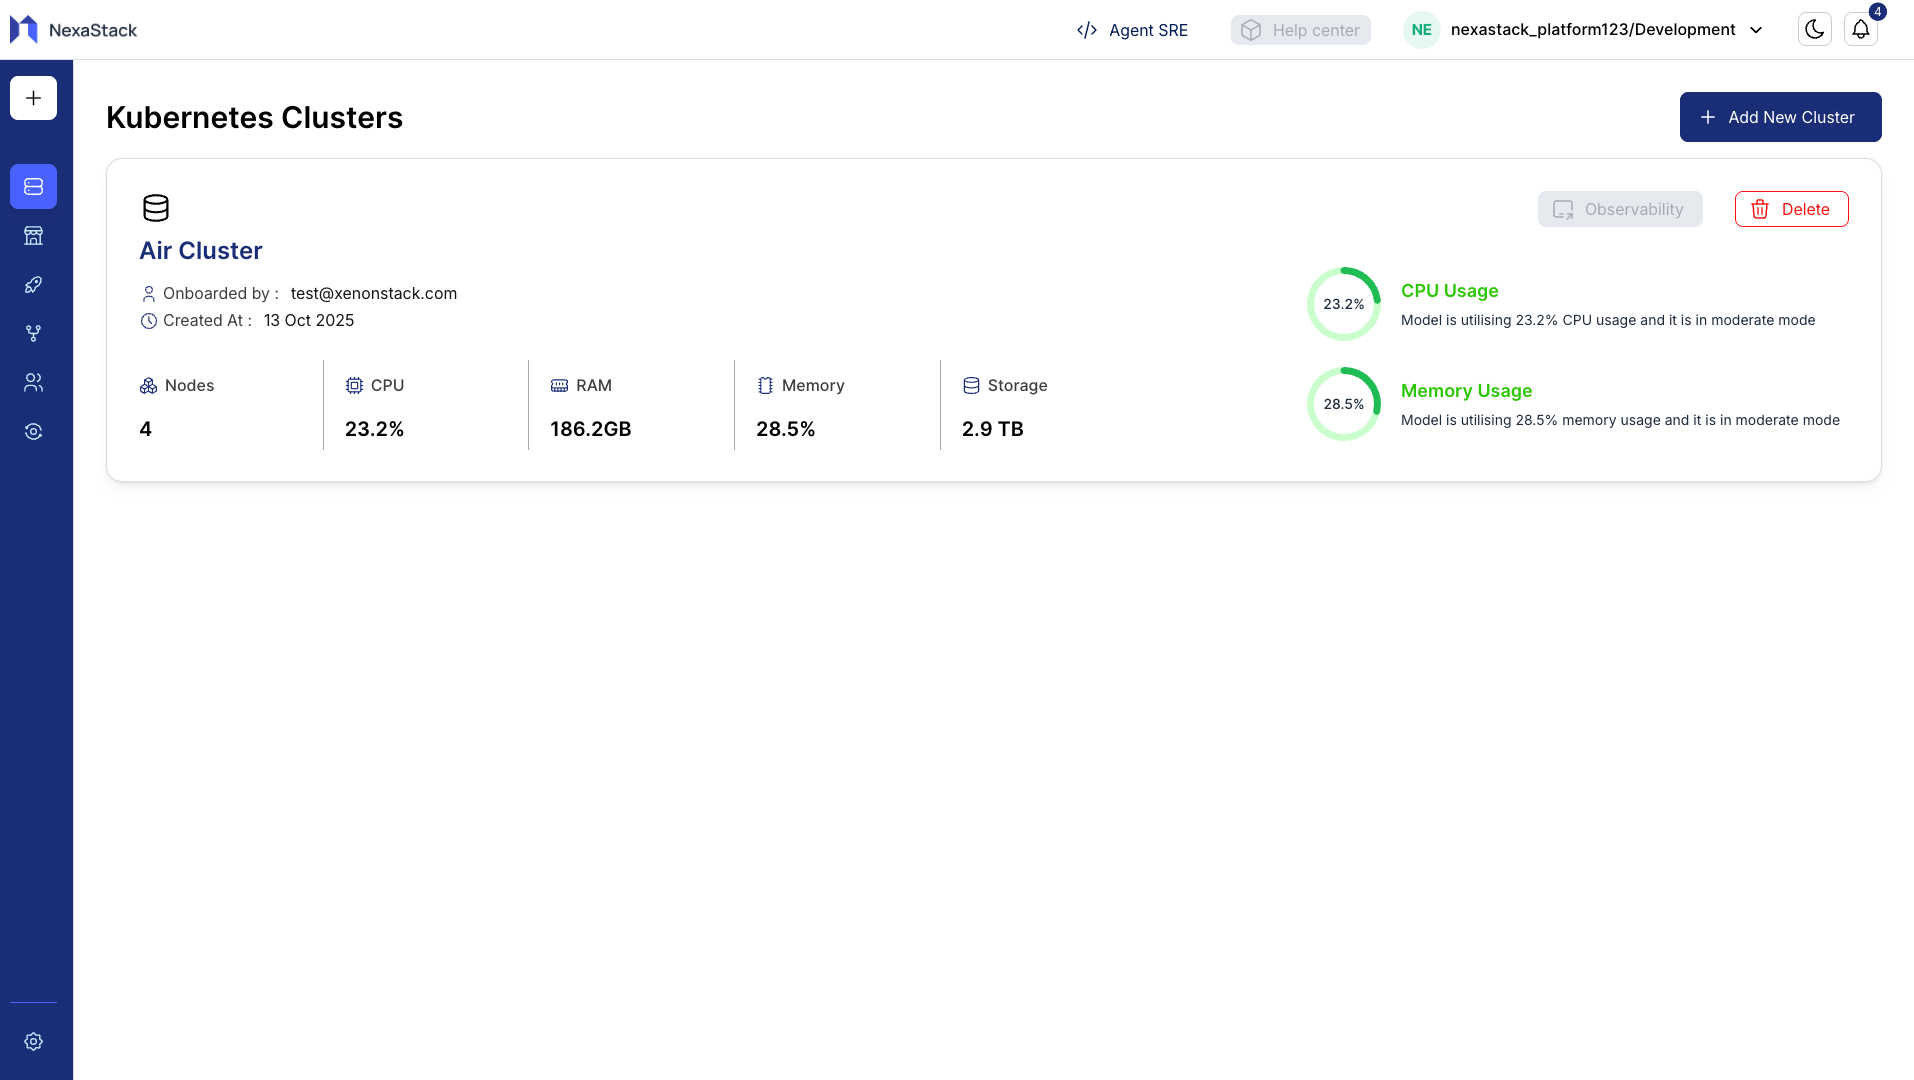
- The newly onboarded cluster will now appear on the Clusters page, displaying its name, type, and status.
Best Practices
- ✅ Verify Access: Confirm kubeconfig has appropriate permissions before onboarding.
- 🏷️ Use Descriptive Names: Helps in managing multiple clusters efficiently.
- 🌐 Validate Ingress: Ensure your ingress domain and class configuration are accurate.
- 🔒 Keep Kubeconfig Secure: Treat it like a password; restrict access to authorized users only.
Next Steps
- Deploy your first AI model using the Model Deployment Guide.
- Monitor cluster performance and resource utilization through the Clusters Dashboard.
- Repeat this process to onboard additional clusters as your infrastructure grows.
Congratulations! 🎉
Your Kubernetes cluster has been successfully onboarded to Nexastack and is now ready for deploying and managing AI workloads.